It can be frustrating when your Swann camera fails to function – either you can’t access it from the app or your monitor in DVR/NVR system. This leaves a dead zone in your security setup, and you will miss out on any activity in the camera view.
Fortunately, most smart camera fails are fixable, and you can easily identify and correct the issue yourself. I’ll walk you through the potential failure causes and the troubleshooting steps to get the camera back up.
Why Has My Swann Camera Stopped Working?
Primarily, the Swann camera stops working when it loses power or network connection. Again, it could be issues with the firmware affecting its performance. Observe the camera’s LED indicator to ascertain the connection status and reboot it with the network devices to refresh the connection.
Also, Swann cameras are prone to the “Video Loss” error when the DVR/NVR can’t sync to the camera and get a video relay.
The not working issue is a rather general problem that requires troubleshooting via an isolation and elimination methodology.
Here are the common causes of the dysfunction in Swann cameras;
- Power outage or loss of network connectivity
- Insufficient network signal strength to adequately support camera operations
- Problems with NVR/DVR connection or settings
- Malfunctioning network ports or faulty ethernet cables
- Camera performance being affected by incorrect settings
- Firmware files becoming corrupted or Outdated Swann Security app
- Server outages
Swann offers directly connected camera models and DVR or NVR security systems. The specific model determines the mode of operation.
However, irrespective of your model, the camera needs power and network access to sync with the cloud servers and be accessible from the monitor or Swann app.
If the app displays the camera offline, get it back online to continue enjoying Swann security services.
Troubleshooting Swann Standalone Cameras
This includes Swann wireless or wired cameras hooked directly to the Swann Security app and connected to your home network. You don’t run them through a DVR or NVR system.
For one reason or another, the camera fails, and your can’t access live footage or receive motion detection alerts on your device.
First, observe the status LED indicator or the IR lights to confirm that the camera is receiving power.
Check The Power Status
There are various ways of powering Swann cameras, depending on your model. The point is that the camera must receive sufficient power to support its operation.
For battery-powered models, confirm that the camera has a healthy charge capacity. It could be that your camera needs a recharge. If so, unmount it and recharge it to full capacity.
On the other hand, wired cameras must be hooked to a working outlet with proper voltage levels for juice. Test that the connected outlet works or transfer the camera to a different one.
Network Settings
Swann cameras are compatible with 2.4 GHz Wi-Fi networks. Ensure this is the network broadcasted by the primary router.
The band selection is usually an issue during setup; once the camera connects, it sticks to the known network.
Remember, if you change your network settings (password, SSID, Security Type, etc.), you must update the same on all your devices.
Newer routers or mesh network topologies support Band Steering, AP Isolation, and Smart Switching features. This can cause offline issues or switch the camera to the furthest node causing a poor connection.
Turn off the features if applicable in your network router.
Power cycling your network router, and the Swann camera refreshes and reinitializes the connection. It could get your camera back working.
Verifying Camera Settings
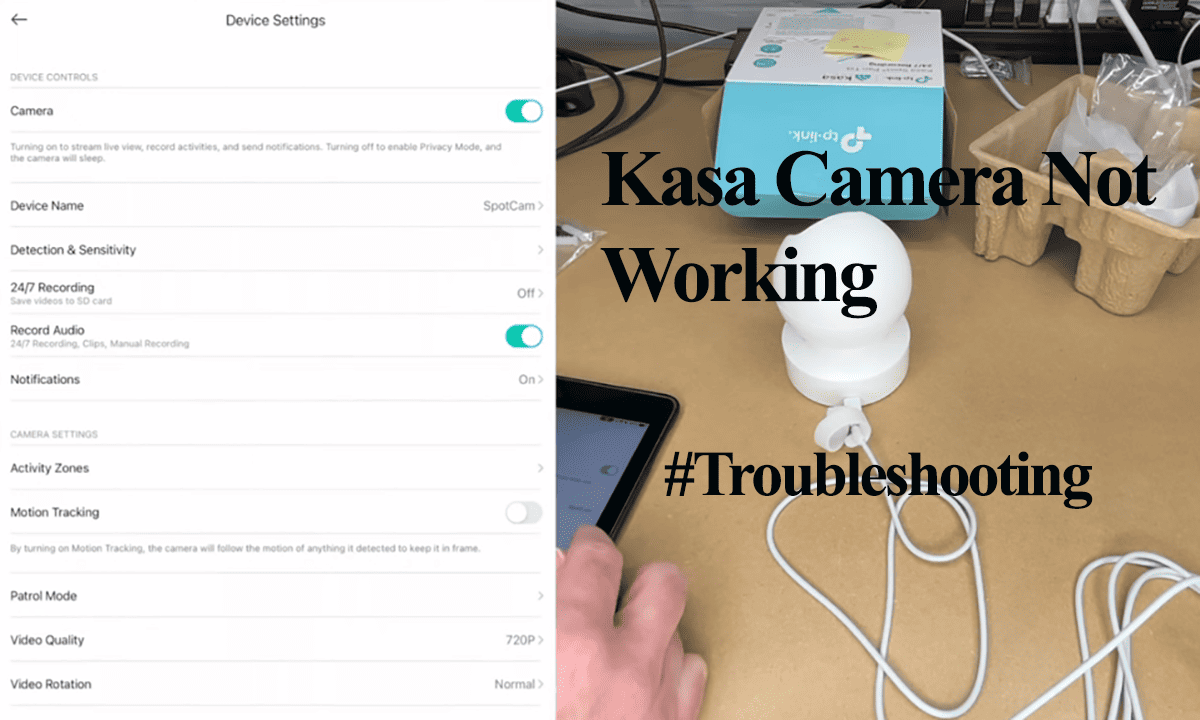
Ensure that your camera settings are properly configured for recording. Double-check that your motion detection, recording, notifications, and other options are correctly set within the camera settings.
Open the Swann Security app > Tap the camera on the home screen > hit the “Settings” icon > Customize the camera settings options;
- Review recording mode and schedule – Confirm that the camera is set to the intended recording mode (continuous, motion detection, or scheduled) and that the schedule aligns with your needs.
- Fine-tune motion detection settings – Adjust the motion detection and sensitivity settings to minimize false alarms or instances of missed recordings.
- Determine the camera mode – Swann provides Home, Away, and Night modes for their security cameras, each with different detection and notification configurations. Make sure that your camera is in the appropriate mode.
- Verify firmware updates – Keep your camera’s firmware up to date by installing the latest version provided by Swann. These updates often include bug fixes and performance enhancements.
Reset The Camera and Reconnect
Resetting the camera clears corrupt or incomplete firmware upgrade files and restores the factory settings. Once reset, you must reconnect the camera to your Wi-Fi network to reuse it.
You can reset the camera from the Swann Security app or manually by pressing the reset button. I prefer removing the camera from the app and then resetting it.
This ensures the camera is only associated with the account if I add it back.
To remove your camera > navigate to the Settings section > Advanced settings > Select Remove Device.
To reset a Swann smart camera, press and hold the reset button for 10 – 15 seconds while the camera is powered on.
The camera will reset and enter pairing mode. It is now ready to connect to the app. Reconnect the camera and test if you have the functionality back.
Read Also: Common issues with Swann Cameras
Troubleshooting Swann DVR/NVR System Camera Not working
If the malfunctioning camera is hooked to the DVR or NVR system: Try these simple solutions;
Check Power and Network Connections
Ensure the camera is properly powered and connected to your network through an Ethernet or Wi-Fi.
Verify that the power supply is functioning correctly and that the camera receives power. Also, double-check the network cables for any damages or loose connections.
Review DVR/NVR Settings
Confirm that the recording and motion detection settings on the DVR/NVR are configured correctly.
You won’t get a video relay if your camera is assigned to the wrong channel or there is a resolution setting mismatch.
Inspect Camera and Network Equipment
Examine the camera itself for any physical damage or visible issues. Test different network cables to rule out any potential cable-related problems.
The camera should have an active network and DVR connection. A faulty or loosely connected wire leads to signal or video loss errors.
Update Firmware
Ensure that the camera’s firmware is up to date by installing the latest version provided by Swann.
Firmware updates often include bug fixes and performance improvements that can resolve various issues.
Reboot and Refresh
Restart the Swann DVR/NVR system and network devices to refresh their configurations.
Once the system is back online, check if the camera reconnects and starts working. Refresh the Swann app or monitor interface to see if the camera is accessible.
Factory Reset and Default Settings
If all else fails, consider performing a factory reset on the camera.
Resetting differs from one model to another, but generally, it involves holding the reset button for 10 – 15 seconds. Once reset, you must reconnect the camera anew.
If the entire system is malfunctioning, restoring the default settings on the DVR/NVR may help resolve the issue.