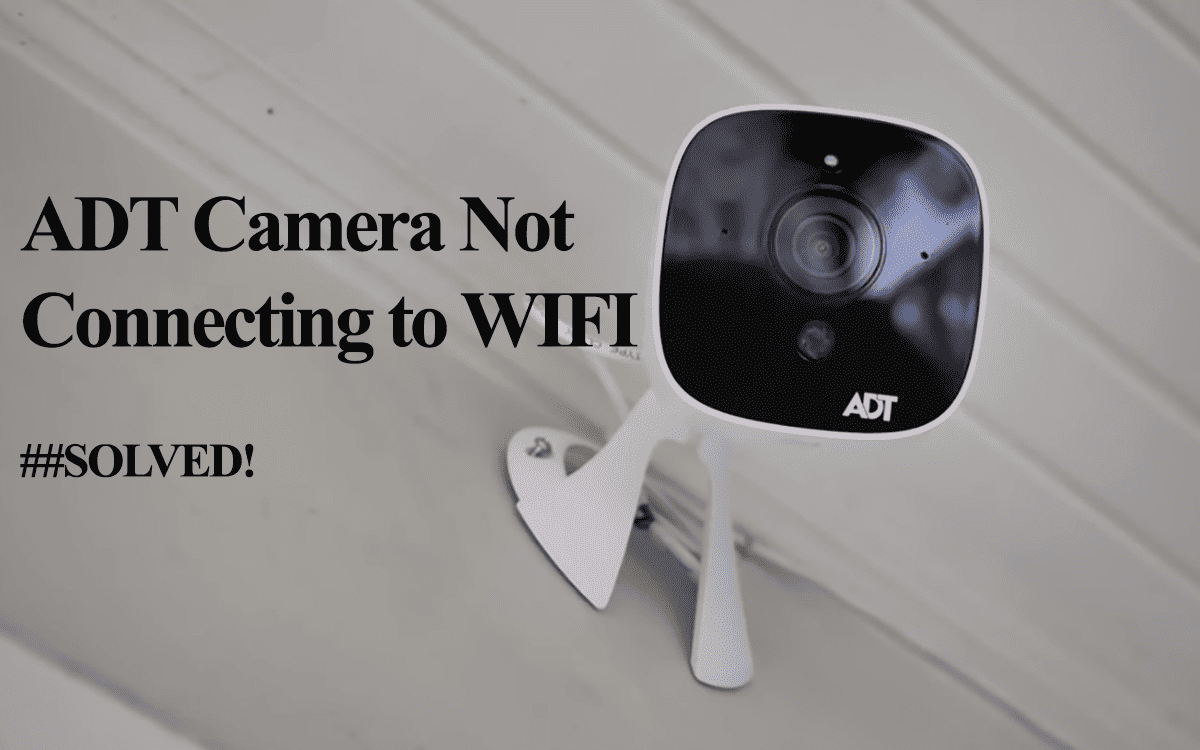
Hooking your ADT camera to a Wi-Fi connection allows remote access and notification alerts on your mobile device. However, this won’t work if your ADT camera doesn’t connect to your Wi-Fi network. Unlike other security cameras, ADT’s network connection process isn’t as straightforward, with one missed step and you stuck on the camera connection.
ADT offers WPS, Access Point, or Ethernet connection modes depending on your camera model. You can onboard the camera to the ADT interactive panel once connected to your network.
Whether you use a wireless or wired connection, the connection failure can be attributed to several factors. Here are the common ones;
- Poor or incompatible Wi-Fi network. Connect to a 2.4 GHz Wi-Fi frequency band on your mobile and the camera. To use a 5 GHz frequency, confirm your camera’s compatibility.
- Not connecting your onboarding devices to the same network
- Running a VPN or Ad guard on your network device
- Your Router network settings prevent new device addition (MAC address filtering, Firewalls, etc.)
- The pulse Gateway is offline or out of range
- The camera isn’t in setup mode
- Incorrect setup procedure
To connect the ADT camera to your Wi-Fi network, use a solid internet connection and be close to your primary router or Gateway.
Again, running a VPN or AD guard software on your mobile device prevents the device’s hotspot connection. Confirm the pairing mode and turn off the VPN if you don’t see the camera’s hotspot under your available networks.
Troubleshooting ADT Camera Not Connecting to Wi-Fi
If you have already set up the camera, but it has lost connection or keeps disconnecting, you are most likely dealing with an offline problem. These solutions focus on those who can’t get the camera to connect during the initial onboarding.
When connecting, ensure you are running the latest ADT app and your mobile device is connected to the intended 2.4 GHz Wi-Fi network.
Additionally, confirm that your camera is well-powered. For an ethernet connection, surely insert the cable on both ends.
Try these solutions to get your camera online;
Verify Your Network Configuration
All ADT camera models are designed to function seamlessly with a 2.4 GHz network. Therefore, ensure an active Wi-Fi network is readily accessible, preferably utilizing the 2.4 GHz frequency band.
Again, check if your router simultaneously transmits 5 GHz and 2.4 GHz frequencies under a single SSID. If it does, consider temporarily turning off the 5 GHz option in your router’s administrative panel while establishing the camera connection.
Alternatively, you can separate these frequencies into distinct entities or ascertain that your ADT camera is compatible with the 5 GHz band.
Double-check that MAC address filtering is deactivated while navigating your router’s settings. This setting can obstruct your router from allocating IP addresses to unrecognized devices, leading to connectivity issues.
Keep your Wi-Fi network name and password succinct, limiting them to no more than 31 characters. Also, refrain from incorporating special characters such as “},” “$,” “*,”),” or “#” into your Wi-Fi password.
Select “WPA/WPA2” as your preferred Wi-Fi security encryption. Some smart home devices may encounter difficulties deciphering newer encryption methods like WPA3.
Once again, configure your Wi-Fi network to operate on channels 1, 6, or 11. If it is set to automatic channel selection, opt for a specific channel before re-establishing your camera’s connection.
Finally, ascertain that your mobile device is connected to the intended network for camera integration. Consider deactivating cellular data to ensure a stable connection when connecting to the camera hotspot.
In case of changes, forget the network on your device, power cycle all the devices, and restart the connection process. Power cycling refreshes and reinitializes the network connection process.
Adjust Camera Placement
During the setup process, it is advisable to position the camera close to your router to optimize signal strength.
After successfully registering it to your account and confirming communication with cloud servers, you can relocate it to your desired installation spot.
Verify that the chosen installation points boast a robust network signal to prevent offline problems.
Alternatively, upgrade to a mesh network topology or install a Wi-Fi extender to bolster your network coverage.
Deactivate VPN And Ad Blockers
VPN and ad blockers can potentially obscure and segregate your mobile device’s IP address from your router’s local network. This can result in the camera’s hotspot being obstructed and failing to appear in the list of available networks.
Therefore, it is imperative to temporarily disable your VPN or Ad Guard while configuring the camera. Once the camera successfully links with the ADT Home app, you can reactivate your VPN.
Try A Different Setup Method
The setup method depends on your ADT camera model and specs. All models connect to your network before onboarding to the ADT interactive portal or mobile app.
If your router and camera have the WPS buttons, you can turn to this method to connect your camera to your network.
Alternatively, use the AP mode, where you connect to the camera’s hotspot, before adding your Wi-Fi credentials.
The camera’s hotspot network under the available networks list on your mobile device confirms that the camera is in pairing mode.
For example, an ADT outdoor camera has this hotspot name – ADC-V723(XX: XX: XX). The ‘XX’ values represent its MAC address.
If there isn’t such a network, press and hold the reset button for 15 – 20 seconds to reset the camera and enter setup mode.
Check the video below for a demonstration of the above methods. You can then apply it respectively;
Contact ADT support
If you still can’t get the camera to connect, it’s time to escalate the matter. You can reach out to the ADT support team.
It could be a case of a faulty camera that won’t work or connect to your network. For example, you can find its hotspot when connecting via AP mode.
Therefore, contact the ADT support and walk them through your current woes.


