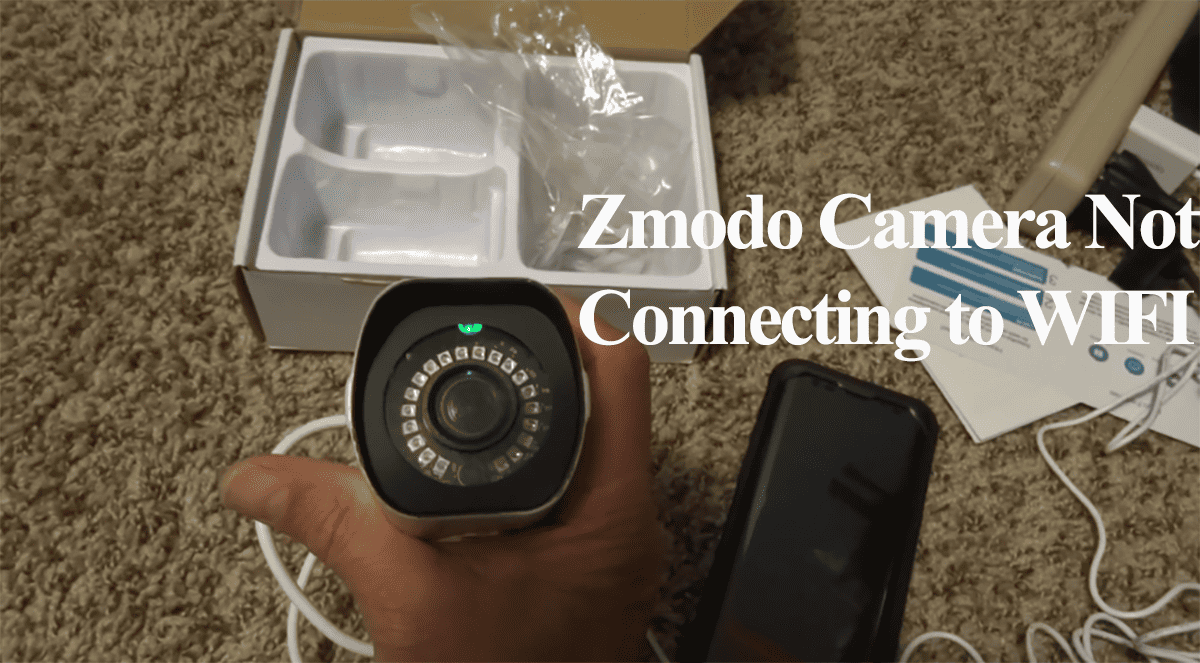
Zmodo offers DVR or a stand-alone camera security system. Irrespective of your Zmodo system, the camera must be connected to an active Wi-Fi network to receive alerts, access the live view, cloud storage, etc. When your Zmodo camera doesn’t connect, it denies you this camera experience.
So, why is your Zmodo camera not connecting to Wi-Fi?
Zmodo camera won’t connect because you are using an incompatible network, running a VPN on your mobile device, or the camera isn’t in pairing mode. To get the Camera hooked via the Zmodo app, power cycle your devices and try to switch to a different setup mode.
Before embarking on the setup procedure, ensure your setup meets the requirements;
- Connect the camera to the 2.4GHz Wi-Fi network; Zmodo cameras, much like other smart home devices, exclusively support this frequency band.
- Disable any Virtual Private Network (VPN) or Adblocker that may be active on your device.
- Confirm camera is within the range of your Wi-Fi network.
- Grant the requisite permissions during the app installation process. Bluetooth and Location permission aid in device discovery.
- Ensure the camera is in pairing mode – flashing green status LED light
- Use the correct setup method on the Zmodo app
- Outdated app or Camera firmware – Check for available app updates on your app store.
- Turn off cellular data for Zink pairing
- A faulty device
If you found a glaring reason for the connectivity woes, fix it and retry the setup process. Otherwise, try these troubleshooting solutions.
Zmodo Camera Not Connecting to Wi-Fi – Troubleshooting
When setting up your Zmodo camera, ensure your mobile device is hooked to the same network. Again, be close to the network router, then move the camera to the installation point after the connection.
Ensure you have enabled Bluetooth and Location on your device and grant the Zmodo app permission to access. Disable the VPN or Ad Guard software on your mobile device.
Try these solutions to get the camera online;
Perform A Power Cycle on Your Devices
To resolve any software bugs or conflicting files affecting the connection, reboot your network router, phone, and Zmodo camera.
- Unplug the router and wait 20 to 30 seconds before plugging it back in. Allow the router to restart and initialize the Wi-Fi network. Make sure you can access the internet once the router is fully operational.
- Restart your Zmodo camera by unplugging it from the power outlet. Wait approximately 1 minute to ensure it discharges completely, then reconnect it to power.
- Restart your mobile device and reconnect it to your Wi-Fi network.
Launch the Zmodo app and test whether the camera can now establish a connection.
Verify Your Wi-Fi Network Settings
Zmodo cameras only support the 2.4 GHz Wi-Fi band. Therefore, confirm that your router is set to broadcast this frequency.
If your router broadcasts the 5 GHz and 2.4 GHz frequencies under a single SSID, access your router’s admin portal and turn off the 5 GHz option.
Alternatively, separate the 2.4 GHz and 5 GHz frequencies into distinct entities. When setting up the Zmodo camera, ensure your mobile device is connected to the 2.4 GHz frequency.
Log in to your router’s admin panel and appropriately manage your Wi-Fi network by assigning separate SSIDs for the 2.4 and 5 GHz frequencies.
While in your router’s portal, ensure that MAC address filtering is turned off to allow the router to allocate IP addresses to the Zmodo camera.
Additionally, check that your Wi-Fi password contains no special characters that the Zmodo app could misinterpret. Avoid using symbols such as } ! $ * ) # in your Wi-Fi password.
Finally, confirm that your Wi-Fi network encryption is set to WPA2-PSK and that the authorization type is AES. Note that some devices may not decrypt newer encryption techniques like WPA3.
If you make any changes on the admin portal, forget the Wi-Fi network on your mobile device, restart both devices, and connect to the updated Wi-Fi SSID.
Then, attempt to connect your camera to test the connection.
Adjust The Camera Placement
If your Zmodo camera is located too far from the router, it might be experiencing a weak signal, which can impede the connection.
During the initial setup, it is advisable to position the camera and phone close to the network router. Once the camera is linked to the Zmodo app, you can relocate it to its final installation point.
Ensure that the camera’s placement receives a stable and robust internet signal from the router. Moving the device closer to the router is one approach to address this issue.
Alternatively, consider upgrading your network to a mesh network topology setup or acquiring a network extender to enhance the range of your network.
Try A Different Setup Approach
The Zmodo app offers four setup methods to add a camera device to your system. Trying a different approach could connect your camera to your Wi-Fi network.
Here are the setup methods;
- QR Code – scan the QR code on your mobile device with the camera to transfer the Wi-Fi credentials and get it connected.
- Zink – connect to the camera’s hotspot (ZMD_SAP) network before entering your Wi-Fi details. This helps confirm that your camera is in setup mode. Turn off your mobile data while using this method.
- Smart Home – Has three options, and the app walks you through the entire process.
- Legacy – Follow in-app prompts for compatible devices
If you are experiencing trouble with the QR scanning, try the Zink setup procedure, as it’s the most straightforward alternative.
Alternatively, you can connect the camera directly to your network from a PC browser.
- Put the camera in pairing mode
- Connect your PC to the ZMD_SAP network
- Type in your camera’s local IP address and port number on a web browser (192.168.10.1:8087)
- Feed in your 2.4 GHz Wi-Fi network on the pop-up window (SSID, PASSWORD, USERID, AND CLIENT COUNT). You can use “admin” and a number value to fill the last two fields. Tap Ok.
- You should get a success window meaning the camera has received your network credentials.
Here is a video illustrating the above process;
Observe the camera status LED. Once it turns solid blue, it has connected to your network. Refresh the app and try finding it.
Reset The Camera and Reconnect
Resetting the camera can help resolve connectivity issues by restoring it to its factory settings.
To reset a Zmodo camera, press and hold the reset button on a powered camera for 10 -55 seconds. The camera will start the resetting process.
After the reset, the camera will enter pairing mode – with a flashing green LED light, ready to establish a new connection.
Reconnect the camera via the Zmodo app and try accessing the live stream. The camera’s status LED turns solid BLUE after successfully connecting to your network.


