Wansview provides an affordable yet reliable bunch of smart security cameras. Once hooked to your network, you can access the camera from the app or on your PC – you can download the PC app on the Wansview website.
Wansview cameras are compatible with Alexa; after setting it up, you can integrate it into Alexa and view live footage on your Echo device. But first things first, let’s connect the camera to your Wi-Fi network.
How To Setup Wansview Camera
To connect a Wansview camera to your network, download the Wansview cloud app from your respective app store, register, and verify your user account. Agree to the necessary permissions during installation. Once the app is set, power the camera and connect it via the app.
Before diving into the setup, keep in mind these requirements for a successful connection;
- Make sure your router broadcasts a 2.4 GHz Wi-Fi network. If your router combines 2.4 and 5 GHz on one SSID, separate them into distinct entities. Alternatively, turn off the 5 GHz option temporarily while setting up.
- Ensure your Wi-Fi security encryption is configured with the WPA/WPA2-PSK protocol.
- Disable VPN and Ad guard on your mobile device.
- Initially, position the camera near the router and move it to the desired installation location after setup.
- Disable your mobile data and ensure your mobile device is connected to the same 2.4 GHz network
Now, download the Wansview Cloud app (available for iOS and Android) to your mobile device and create an account. Set up your location, agree to the terms and conditions, and verify your account.
Also, grant the app location and Bluetooth permission to aid faster device discovery.
The Wansview app offers two setup methods;
- Wi-Fi connection via QR code scanning – An easier and faster way to connect
- Wi-Fi connection via Soft-AP mode – involves connecting to the camera hotspot before adding your camera to the Wi-Fi network.
Wi-Fi Connection Via QR Code
As mentioned, this is the easier and faster method – get the camera hooked quickly. Here is how to go about it;
Power the camera by connecting the adapter to a working outlet. Give it a moment to power up and enter pairing mode – denoted by a blinking blue and red status LED. The camera is ready to pair.
For battery-powered models, fully charge the camera and power it on. There is a power button on the camera.
- Open the App on your device
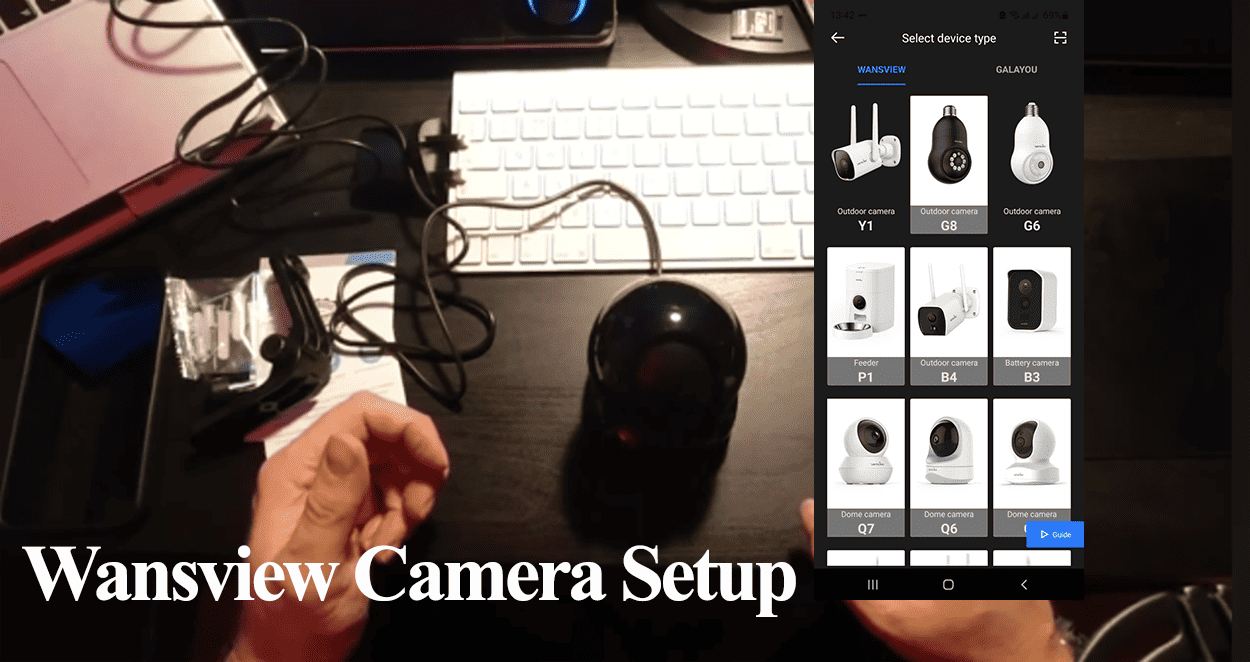
- Tap the “+” icon on the top right
- Select your camera model. On the Wansview tab, choose your camera’s model. Be sure to pick the correct one.
- Select the setup mode – Wi-Fi connection by QR code. Hit the “Select” button below the option.
- Confirm that your camera is in pairing mode. Hit the “Flashing” button to continue. If the camera isn’t in pairing mode, reset it by pressing the reset button for 20 – 25 seconds.
- Enter your network credentials. Select the 2.4 GHz network and enter the correct password. Tap Next.
- Scan the QR Code. Point your mobile device to the camera as instructed on the app. Once you get, the “QR code scanning is successful,” tap Next.
- Let the app pair. Give the app a moment to register and initialize the camera.
- Name your device.
This adds the camera to the home screen; you can access the camera and customize the different settings.
Wi-Fi Connection by Soft-AP
This alternate method comes in handy when experiencing problems with the QR code scanning method above. Checking the hotspot verifies whether the camera is in pairing mode.
If you can’t find the camera’s hotspot under your Wi-Fi networks, chances are the camera is faulty. Ensure you disable your VPN or Ad guard and turn off cellular data.
With mobile data on, the device auto switches when connected to the camera’s hotspot.
Here is how to connect the camera;
- Tap the “+” icon to add a device
- Under the Wansview tab, select the correct camera model, say dome camera Q7
- Select the “Wi-Fi connection by soft-AP” setup mode
- Confirm the camera is in pairing mode and hit the Flashing button
- Tap the “Go to Settings” button, connect to the “WVCxxx” network, and return to the Wansview cloud app.
- Add your network. Select the 2.4 GHz network and enter the correct password
- Let the app find, register and initialize the camera.
- Name your device.
Viola! Your camera is now online; try different features under camera settings. Should your encounter any connection woes, check out troubleshooting Wansview camera not connecting article.
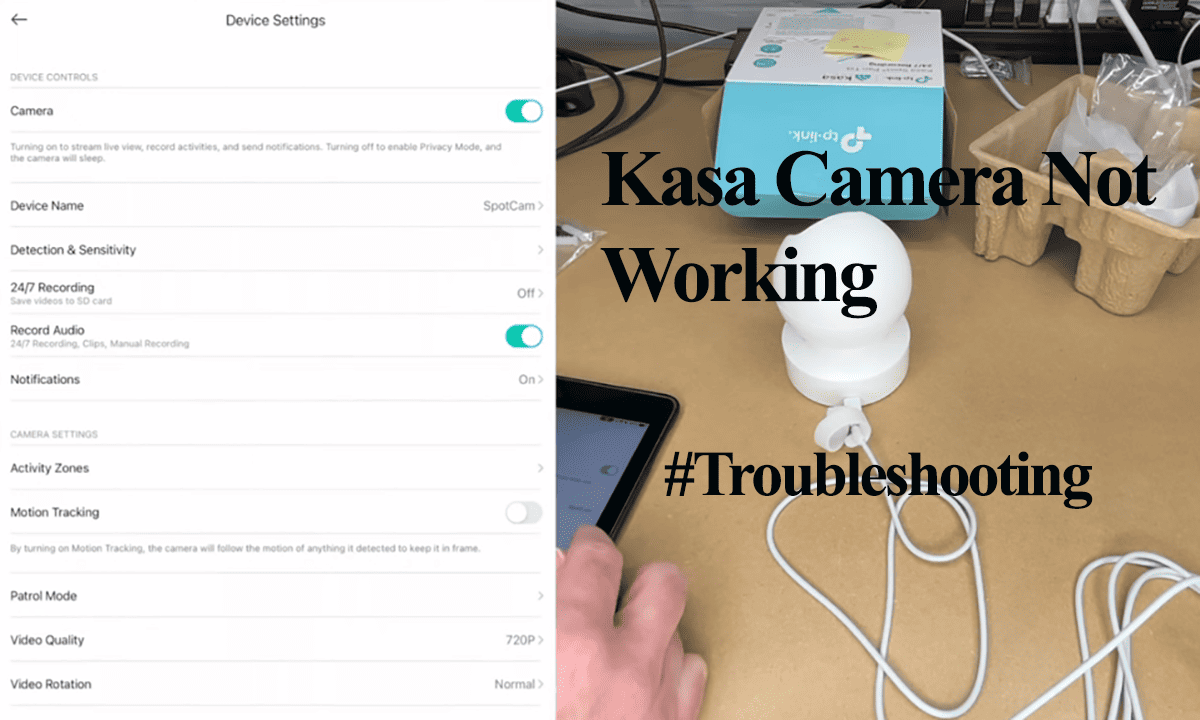
Settings to Look at
Insert the SD card – usually sold separately and enable local storage.
Motion detection – select the detection area and set your sensitivity area
Enable Motion alert – Setup a schedule if you wish to.
Adding the Wansview camera to Alexa
The Wansview camera works with Alexa; once integrated, you can view the camera footage on your Echo device.
Here’s how to add the camera to Alexa;
- Open the Alexa app
- Tap “Devices” on the bottom menu > “+” icon > Add Device
- Select Camera as the device category
- Choose the camera brand. Scroll down and tap “Wansview” to continue
- The camera is already set up on the Wansview app; tap Next on the Alexa app to skip through.
- Enable the Wansview Alexa skill. After skipping through, hit the “Enable to Use” button.
- Sign in to your Wansview account to grant access.
- After successfully linking your account, Tap Next to discover your device.
- Customize the device. Add the device to your preferred Alexa room and name it appropriately.
Use Alexa’s voice commands to control and view your camera. “Alexa, show me the front door.” This should bring up live footage.