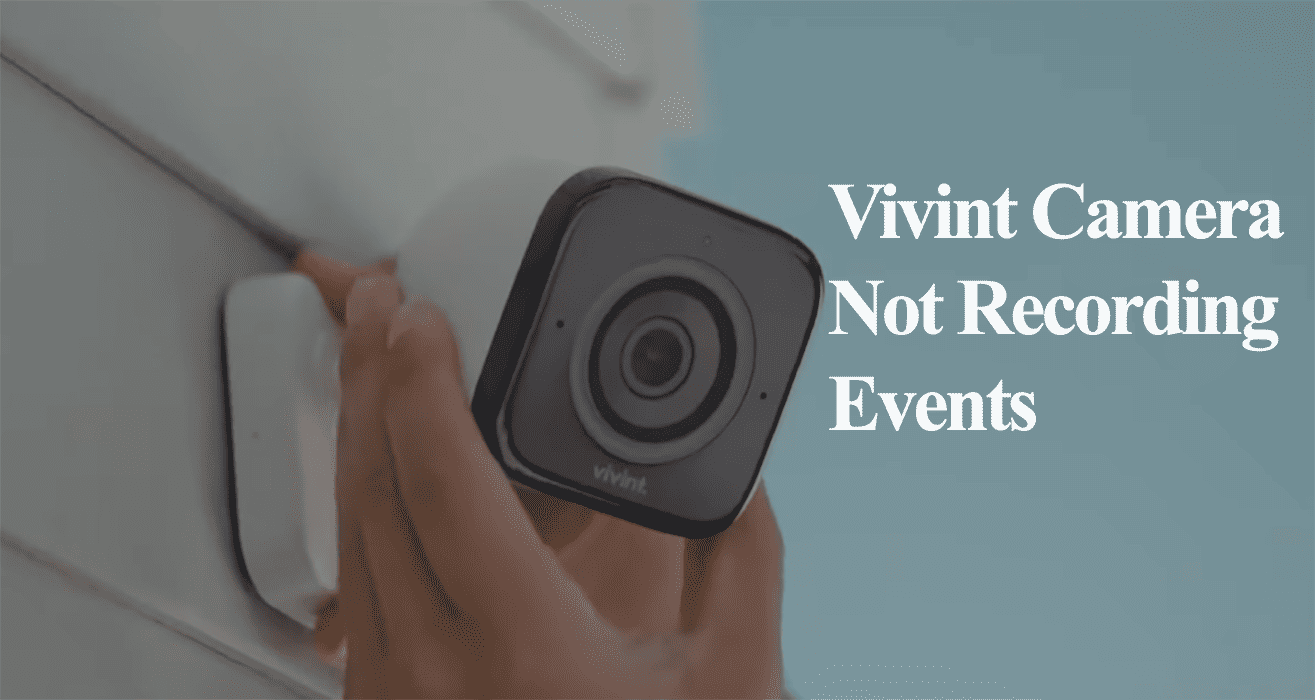
Vivint cameras add to the home monitoring features of a Vivint security system. Once motion is detected and clips recorded, you can access the clips via the Vivint app or control panel for playback. However, this isn’t possible when the Vivint camera is not recording events.
I like the deterrence-focused features on Vivint security cameras, where I can notify lurkers or intruders that they are being watched before they can commit a crime.
So, why is your Camera not recording events?
Vivint camera won’t record due to network disconnection, improper camera settings, or corrupt firmware files. Ensure your camera is online and in sync with the cloud servers with motion detection and recording enabled on the camera settings to get event recordings.
Here are common reasons why your Vivint camera or doorbell doesn’t record;
- Loss of power – tripped adapter or cable
- Loss of network connectivity – wired or signal interference in Wi-Fi models
- Improper camera configurations under the camera settings – detection, sensitivity, recording, deterrence, etc.
- Obsolete firmware or an unfinished firmware update
- Reliability issues
- Malfunctioning device
The first step is to confirm if your camera is online – at least you are sure the camera is working. Try accessing the live stream on the Vivint app.
If this works, the camera has a connection, and recording should work upon motion detection. Otherwise, you are dealing with an offline issue.
Vivint Camera Not Recording Events – Troubleshooting
Vivint cameras record when triggered by motion detection or 24/7 when attached to a Vivint Smart drive. Tapping the event markers on the recording should take you to the motion-triggered recordings.
I have taken the time to review comments on the Vivint App, and many users are expressing their complaints on glitchy app performance when it comes to recording clips. This isn’t an isolated problem.
If your camera is online and you receive notifications, the recording failure could be down to reliability and functionality issues. You have to compromise and take it on the chin.
Try these troubleshooting solutions to get your system working;
Check Your Camera’s Connection
The network connection and powering depend on your camera model – the indoor camera connect to Wi-Fi, while outdoors, apply PoE via a bridge connector.
If your bridge loses connection, you will lose the camera’s performance. Therefore, check that the bridge has a Wi-Fi connection (observe the indicator lights) and that the ethernet cable is securely hooked.
Alternatively, use the Vivint app to confirm your camera connection under its settings.
To refresh your connection, power cycle the network and Vivint devices. The camera, network router, bridge, panel, and refresh the app.
Power cycling is a fancy word for restarting electronic devices, but it involves fully disconnecting them from the power outlet for a given time, say 30 – 60 seconds.
We have confirmed that the camera is online and refreshed the connection to clear any IP conflict affecting the performance.
Double-Check Your Camera Settings
You can adjust your camera settings via the Vivint panel or App. However, be sure you don’t have mismatched settings on the app and panel.
Under each camera, you get Notifications, Recording, and Detection settings that dictate how your camera behaves.
Under Detection, you Activity Area and Sensitivity levels that fine-tune the ease of detection. These settings should sit right according to your needs.
To customizes these on the app;
- Open the Vivint app on your devices
- Tap cameras on the menu > Settings > Select the camera
- Select Recording > Enable the Playback, Person detection, and/or Custom recording toggles.
- Under detection, confirm you have correctly set the activity zone and select a suitable sensitivity level.
- Test the camera by triggering motion in the set area.
If you have any personalized rules, ensure they don’t conflict with other settings. Thus, affecting the Vivint system performance.
Ideally, if all goes well, you should get a recording. You can also set the deterrence feature “Smart Sentry” and test if it works – getting a tone confirms your camera detects activity in the field of view.
If you run your system via the Panel, follow these Vivint’s motion detection optimization to ensure your camera detects and records events.
Again, remember that your camera positioning affects its motion detection. Ensure the installer has correctly positioned your camera – avoid placing them in front of a glass material.
Confirm Available Updates
The reason behind your recording challenges could be using outdated versions of the application or camera firmware.
Vivint regularly releases new firmware to address identified software glitches or enhance camera performance.
So, have you verified that both the application and firmware are current? Check for updates in your respective app store. Should you get any pending updates, upgrade and re-test the camera recording.
Reset and Reconnect the Camera
Performing a camera reset eliminates corrupted firmware files that might affect its performance. This action restores the default settings.
Once reset, the camera falls offline on the app reconnect, and updating it to the latest firmware could offer a solution.
First, remove the camera from your system through the control panel or the app. Follow these steps:
- Press the Home button.
- Click on the Menu icon.
- Choose “Devices.”
- Input your access PIN.
- Select “Cameras” and choose the intended one.
- Scroll down and tap “Delete Camera.” Confirm your decision.
Subsequently, initiate the camera reset process. For Vivint’s indoor camera, here is how to reset it;
- Disconnect the camera from the power outlet.
- Press and hold the top button while plugging the camera back in.
- Release the button once the status light turns red.
The camera will cycle through a sequence of colors before turning green, indicating its readiness to reconnect to your Vivint system.
Next, reconnect the camera to your Vivint system or the app. Upon successful addition, you should receive a live view confirmation, signifying the camera’s online status.
Customize your detection and recording settings and test if it works.
Engage Vivint Support
If you’ve exhaustively explored all avenues and cannot restore your camera’s detection and recording functionality, I suggest contacting the support team.
If none of the camera features work, it could be a case of a faulty unit that requires replacing or fixing.
The technical support team can assist you in obtaining a replacement unit.