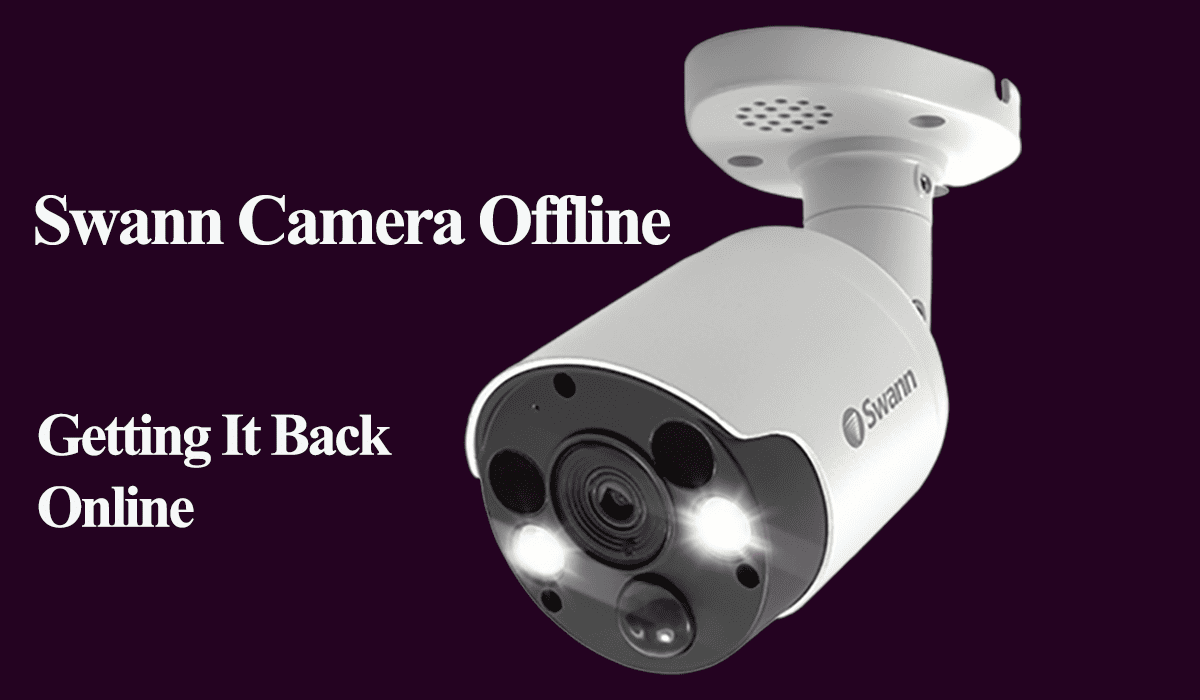
To access your Swann camera from the Swann Security app, the camera must be online and hooked to your network. The same applies to the DVR/NVR system when set up for remote control. Swann displays the camera offline when it’s out of sync with the cloud servers.
The offline issue compromises your security system, creating a dead zone. It could be that you changed your Wi-Fi settings, a network drop, or a power disruption affecting the connection. This calls for your troubleshooting skills to get your camera back online.
I’ll walk you through the potential causes and how to troubleshoot the offline issue on your Swann security camera.
Why Does My Swann Camera Say Offline?
The Swann camera falls offline once it’s out of sync with the cloud servers. Primarily, this occurs due to a power or network disconnection. Sometimes, it can also be attributed to server outages. Try power cycling your network and Swann camera system devices to refresh and reinitialize the connection.
Swann offers different models with various modes of operation – wireless, wired, and PoE cameras with or without a DVR system.
Here are potentials reasons why your app is displaying your camera as offline;
- Low bandwidth or drop in the network connection
- Prolonged power outage or power issues (low voltage or battery capacity, loose cables, etc.)
- The installation location isn’t within your network’s range
- Switching between 2.4 and 5 GHz Wi-Fi bands
- Wi-Fi interferences causing disconnections (Electronic remotes, baby monitors, Signal jammers)
- Outdated app or firmware bugs
- Change in Wi-Fi credentials
- Server outage
Once your camera falls offline, check the LED light and look it up. A flashing LED indicates a connection issue.
How Do I Get My Swann Camera Back Online?
Swann cameras require a functioning Wi-Fi connection for optimal performance. To reconnect your Swann camera, test your network’s functionality and power cycle the camera to refresh and establish a new connection.
Before proceeding, update your Swann Security app to the latest version. Additionally, try switching the camera to “Away” mode to check if it reactivates.
Resolving connection and device issues is crucial in getting your Swann camera back online. Follow these troubleshooting steps.
Power Cycle All Devices
A simple restart can often resolve offline issues, regardless of the cause. Power cycling involves rebooting electronic devices, especially those connected directly to a power source.
Before power cycling, ensure that your camera is receiving power. Inspect the power cable for damages and confirm that the outlet functions correctly.
If your camera operates on battery power, ensure it’s charged up. Charge the camera for approximately 3 hours to reach full capacity if necessary.
Power cycling helps eliminate temporary configuration errors or corrupted files that hinder the camera’s connection. Therefore, power cycle both the camera and the network router, then refresh the Swann app. This refreshes both the network and the camera’s connection.
Again, if the camera is hooked to a DVR system, you need to power cycle it too.
To do this, unplug the devices from the power source, wait for 20 to 30 seconds, and reconnect them to reboot successfully. Start with the router, then the camera, and finish by refreshing the app.
Check Your Home Network
As you may already know, Swann cameras require a stable internet connection to function correctly on the app. Therefore, testing your network and ensuring a solid bandwidth to support Swann operations is essential.
If there is no connection, contact your Internet Service Provider (ISP) to address the issue, and then proceed to power cycle your cameras.
Temporarily turn off other devices connected to your network to boost bandwidth.
Also, if you make any changes to your network settings, such as Wi-Fi password or security type, remember to update those changes on all connected devices.
Once you have applied the changes on your router’s admin panel, remove the camera device from the app, reset it if necessary, and reconnect it to the updated network.
Additionally, check your Wi-Fi frequency band. If your router broadcasts both frequencies on a single SSID, it’s vital to separate them into two different networks to avoid conflicts and ensure compatibility with the camera.
Another common cause of offline issues is channel interference. To resolve this, set your Wi-Fi network channel to channels 1, 6, or 11 on your router’s admin panel.
While accessing your router’s admin panel, ensure no active firewall or port-blocking settings could hinder your camera’s connection. Turn off the “MAC address filtering” feature if enabled.
Power cycling the router and devices generally resolves temporary network issues. Unplug the router from the outlet to power cycle, wait for 20 to 30 seconds, and then reconnect it.
Adjust Camera Placement
The installation location should receive a solid signal to support live streaming and video uploading.
Ensure the camera is placed within range of a stable and robust internet signal from your router. Moving the camera closer to the router can help resolve the issue.
Sometimes, even a tiny adjustment of moving the camera a foot or two away can make a difference, especially if obstructions such as walls block the original location.
Alternatively, consider upgrading your network to a mesh network topology setup or installing a Wi-Fi extender to expand your network coverage.
Ensure the installation point receives a solid signal for outdoor cameras to keep the camera online.
Reconnect The Camera on The App.
Sometimes, after a prolonged disconnection, some cameras struggle to return online. A reconnect should get it running. This is if you have ascertained that your network is on point.
To re-register your camera via the app, follow these steps;
- Tap on the camera displaying the message “Camera is Offline” on the screen.
- A dialogue box will appear in the app with the following instructions. Tap “Yes” to proceed with reconfiguring the wireless settings.
- Ensure that you select “Wireless” if your camera was initially connected to your Wi-Fi, or choose “Wired” if it was connected via a wired connection to your network. Then, tap Continue.
- Make sure your phone is connected to the 2.4GHz Wi-Fi network to which you want the camera to connect. The app will automatically display the network name you are currently connected to. Enter the passcode for the Wi-Fi network and tap Continue.
- The app will briefly indicate “Getting Camera Token,” and a QR code will appear on the screen. Hold the QR code approximately 4 to 10 inches in front of the camera until you hear two beeps. The IR LEDs will blink twice for customers using an ADS-466 camera instead of beeping.
- When this occurs, it means the camera has been re-registered and is ready to use again. Tap Done.
If you experience trouble reconnecting, check out our guide on Swann camera not connecting to network.
Factory Reset the Camera
Factory resetting clears all the configurations and restores the default settings. Ensure your back up your essential clips before performing the reset.
To fully reset your camera, remove it from the app before resetting. This disassociates it from your account, and no residual data is spared.
Resetting differs from one model to another, but generally, it involves holding the reset button for 10 – 15 seconds. Once reset, you must reconnect the camera anew.


