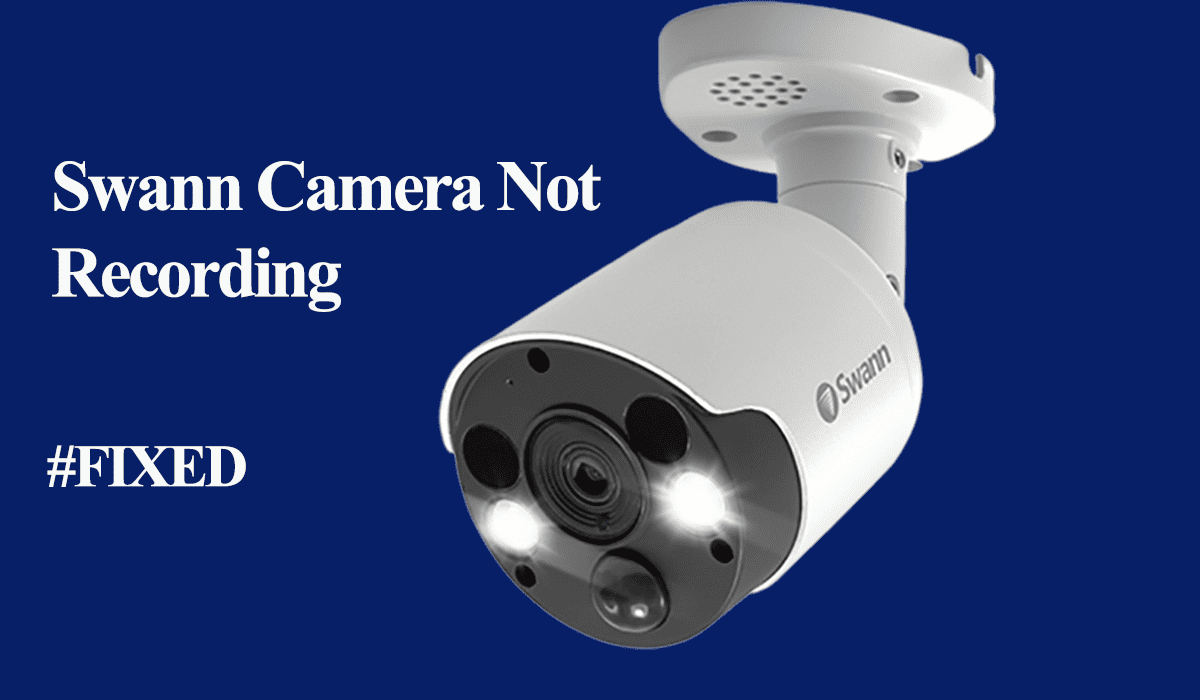
Swann security system or standalone camera allows you to record motion events for playback purposes and ensures you don’t miss activities in your zone. However, your Swann camera or DVR system sometimes won’t record due to functional or connection issues.
A security system has to record what’s on the camera’s field of view; otherwise, you aren’t getting full functionality. Additionally, there is the vulnerability feeling that you could miss out on a security breach incident.
In this post, I’ll help you answer why your camera isn’t recording and offer probable troubleshooting solutions to get your back on the way.
Why Is Your Swann Camera Not Recording?
Swann cameras won’t record due to a power or network supply disruption. First, ensure your camera is online and in sync with the cloud servers, then confirm your camera or DVR settings. If your settings sit right, power cycle your camera and network devices to refresh and reinitialize the connection.
Here are common reasons why your camera isn’t recording;
- The camera is disconnected from your network and offline
- Poor network signal insufficient to support the camera’s operations
- Improper camera settings – motion detection, recording, scheduling, sensitivity level, etc.
- You haven’t enabled recording on your DVR system
- No active storage plan is attached – local or cloud storage
- Power supply issue – low battery or incorrect wiring
- Software bugs or incomplete firmware upgrades
- Incorrect camera position
- Faulty or defective camera unit – malfunctioning PIR sensor
Double-check the specific channel and confirm its settings if your camera is hooked to a DVR system and other cameras are working. Again, ensure the camera is receiving power and the cable works.
Again, recordings won’t be available for playback if your camera isn’t triggered. Walk on the camera view to confirm it’s not picking up motion on the field of view.
Ensure the camera is set up where it can pick up motion – Not too high or in the presence of obstructions.
Fixing Swann Camera Not Recording Motion
Swann has a wide range of products with different modes of operation. A standalone camera hooks to your 2.4 GHz Wi-Fi network and is accessible via the Swann Security app. ‘
On the other hand, Swan has DVR and NVR security systems with local recording accessible from your monitor or the app. You can remotely monitor once you have added your system to the app.
Swann cameras detect and record motion based on your customization.
The troubleshooting steps below are grouped into two categories;
Troubleshooting Swann Standalone Cameras
If your cameras aren’t hooked to a DVR or NVR system, follow these steps to ensure your camera records.
Checking Storage Capacity and Clearing Space
Start by assessing the available storage on your camera. Most Swann cameras have an SD card slot for local storage.
- Determine the available storage: Access your camera’s settings through the Swann app to check the storage status.
- Delete unnecessary files or footage: Remove any redundant or old footage to free up storage space.
- Expand storage options if needed: Consider upgrading your storage capacity to 64 GB or utilizing cloud-based storage solutions to accommodate more recordings.
Verifying Camera Settings
Ensure your camera settings are appropriately configured for recording. Under your camera settings, ensure your motion detection, recording, notifications, etc., sit right.
Check recording mode and schedule – Verify that the camera is set to the desired recording mode (continuous, motion detection, or scheduled) and that the schedule aligns with your requirements.
Adjust motion detection settings – Fine-tune the motion detection and sensitivity to avoid false alarms or missed recordings.
What mode is your camera on? – Swann offers Home, Away, and Night modes for their security cameras, all with different detection and notification settings. Confirm that your camera is in the correct mode.
Confirm firmware updates – Update your camera’s firmware to the latest version as provided by Swann, which often includes bug fixes and performance improvements.
Addressing Power Supply Issues
Ensure your camera receives sufficient power and that the connections are secure. For PoE models, ensure the cable works and is securely inserted on both ends.
Follow these steps to verify that your camera is receiving power;
- Verify power source and connections – Check the power adapter and cables for any signs of damage or loose connections.
- Test the power adapter – Try using a different power adapter to rule out a faulty adapter issue.
- Reset camera or power supply – If the camera is not responding, try resetting it or power cycling the camera and power supply.
Again, for battery-powered models, confirm that your camera has a healthy capacity to support live view and recording operations.
Resolving Connection Problems
Standalone cameras require an active connection to detect and record motion clips. Examine your network connectivity and troubleshoot any connection issues:
Remember, Swann cameras are only compatible with 2.4 GHz Wi-Fi networks and need a connection to be accessible from the app.
- Check network connectivity and Wi-Fi signal strength: Ensure your camera is connected to a stable network with adequate signal strength.
- Reboot router and camera: Power cycle your router and camera by unplugging them, waiting for a few seconds, and then plugging them back in.
Once you confirm your camera is connected, walk in front to trigger detection and check if it records.
Updating Camera Firmware or Software
Keeping your camera’s firmware or software up to date is crucial for optimal performance.
First, confirm that you have the latest Swann Security app on your mobile device. Check your respective app store and update if necessary.
Once the app is up to date, use it to confirm your camera’s firmware. Download and upgrade the camera should there be a pending update.
Reset The Camera
Resetting the camera will restore it to its factory settings, eradicating any bugs or conflicting configuration files that may affect its connectivity.
To reset a Swann smart camera, press and hold the reset button for 10 – 15 seconds while the camera is powered on.
The camera will reset and enter pairing mode. It is now ready to connect to the app.
Launch the Swan app on your device and add it anew.
Swann DVR or NVR not Recording – Troubleshooting
If your Swann DVR or NVR camera hooked isn’t recording probably, your settings are incorrect, or the camera has lost network or power connection. Try power cycling your recorder and the camera to refresh the connection.
For your camera to record, it must have power and a network connection.
Conversely, sometimes the DVR system won’t record due to an incomplete firmware upgrade or corrupt config files.
Troubleshooting Swann Security System
Confirm your cameras are online – When not getting recordings on your DVR system, first, ensure your camera are online with network and power access. You should be able to access the live feed from your monitor. A “video loss” error indicates the recorder has lost the camera’s connection.
Verify your system settings – Swann DVR allows you to record and schedule your cameras. Ensure recording is enabled on all channels and your camera is in the correct time zone. If your camera is scheduled not to pick up motion, don’t expect clips during that period.
Restore the default settings – Restoring the settings clears all your current settings and customization. You must set up your Swann system and re-customize it to your liking. Be sure to Save Settings to back up your current preferences.
Here is how to restore your Swan system default settings;
- Login to your Swann system Home Menu
- Select Advanced on the left menu
- Save your settings if your wish, then hit Load Default.
- Choose All on the load Default dialog box > hit Save > Ok
- Let your system restart, after which you begin a fresh setup.
- Select your language > Set your Password > Set your time zone, date, and time format.
- Email configuration. Set or disable the Email setup and tap Next.
- NTP Configuration. Tap the Update Now button to set your preferences.
- DST Configuration. Set or disable > Save > tap Next to continue.
- Once your system restarts, check your record settings. Check the Record, Record Schedule, Mainstream, and Substream settings.
This should get your Swann system working. Test it out to see if your cameras pick up motion.


