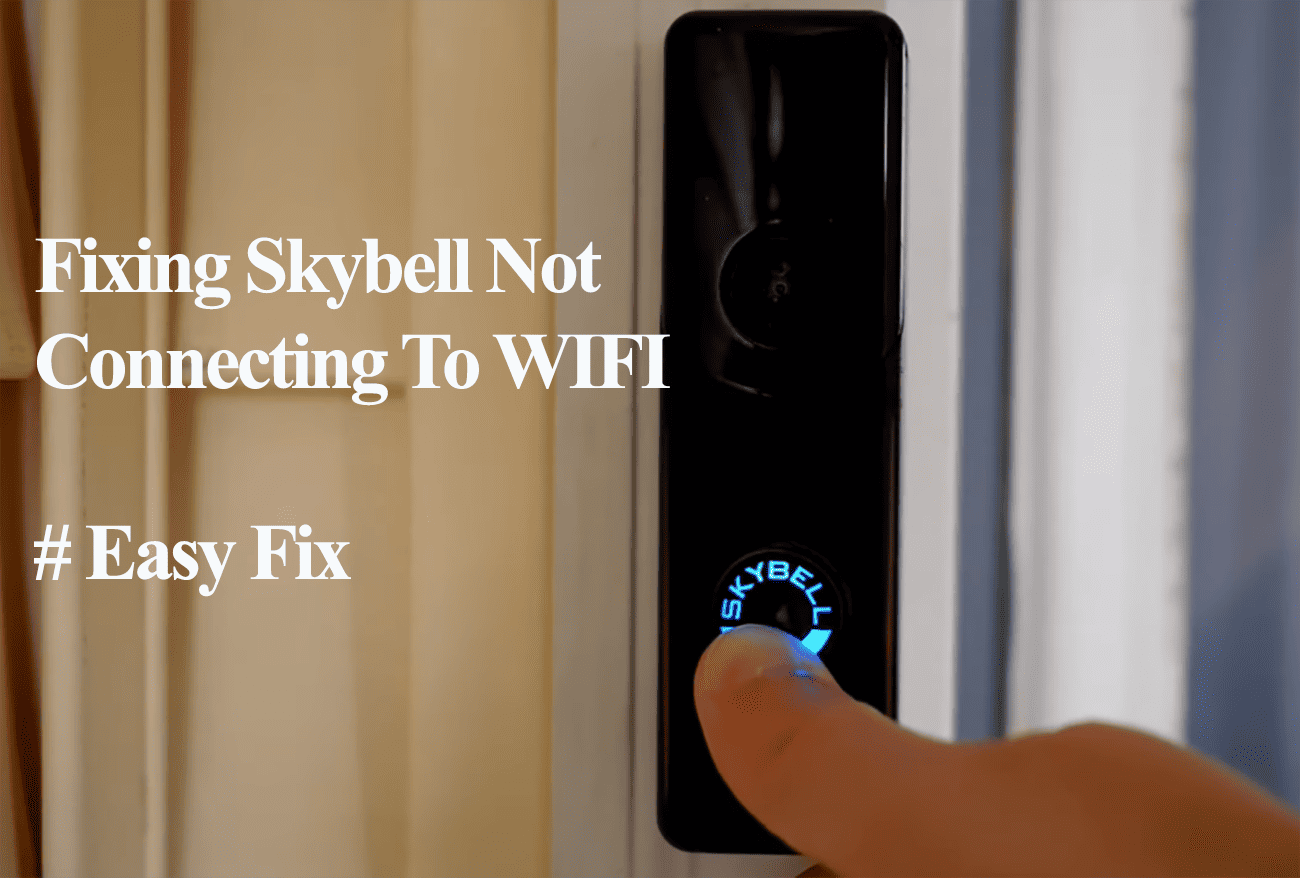
Experience Wi-Fi connection issues can be a frustrating experience, especially with new devices. Try to hook your Skybell doorbell to your home network via the “Alarm.com” app, but are you running into errors?
This article guides you into the troubleshooting steps to get your doorbell online. But first, let’s look at the potential reason the doorbell won’t connect.
Whether you are running into the unable to join the network “SKYBELL_XXXXXXXXX” or time-out errors during the setup, here are the potential causes;
- Using a 5 GHz Wi-Fi band. Skybell doorbells are only compatible with a 2.4 GHz network.
- Poor network signal at the installation point. Be close to the network router.
- Not having the doorbell in setup mode
- Running a VPN or Ad guard on your mobile device
- Network settings like MAC address filtering, Firewalls, Port blocking
- Outdated app – check your respective app store for updates
- Faulty device
During setup, it’s always advisable to have your mobile device hooked to the intended 2.4 GHz network and turn off cellular data.
Cellular data or network auto-switching could prevent connection to the device hotspot. Double-check your cellular or network auto-switching settings if your connection fails when switching to the doorbell’s hotspot.
Troubleshooting Skybell Doorbell Not Connecting to Wi-Fi
During setup, ensure your device is in pairing mode and broadcasting its Wi-Fi network. Primarily, you want the doorbell flashing red and green, indicating setup mode.
A “SKYBELL_XXXXXXXXX” network should be visible under your mobile device’s list of Wi-Fi networks. For iOS devices, you may have to manually connect to this network when prompted by the app.
With that, follow these simple solutions to get your doorbell connected;
Verify Your Wi-Fi Connection
The primary cause of connection issues during the setup of most smart devices is often an inadequate or incompatible Wi-Fi network.
Skybell only supports 2.4 GHz Wi-Fi networks.
If your router supports both frequencies in a single SSID, deactivate the 5 GHz option in the router’s admin portal while connecting the camera.
Again, log into your router admin panel and check how your settings sit;
- Turn off MAC address filtering, which can hinder the router from assigning IP addresses to unrecognized devices.
- Keep your Wi-Fi name and password under 31 characters and avoid special characters like “{ } $ * ) #” in the password, as the app may misinterpret these.
- Select “WPA/WPA2” as the Wi-Fi security encryption, as some smart home devices may face difficulties decrypting newer encryption techniques such as WPA3.
- Set your Wi-Fi network to channels 1, 6, or 11, and reconnect your camera if it’s on auto.
If changes are made on the admin portal, forget the Wi-Fi network on your mobile device, restart both devices, and connect to the updated Wi-Fi SSID.
Reboot Your Devices
To refresh your devices, restart both the doorbell and network devices. Power cycling your router helps refresh the network connection and resolve IP conflict issues.
Unplug the router from the outlet for 20 – 30 seconds, plug it back in, and wait for it to initialize and broadcast an active network. Power cycle the doorbell once the router is ready. Allow it to reboot and fully initialize before re-pairing.
Adjust Doorbell Placement
Signal strength weakens as you move away from the primary router or encounter obstacles. Place the router in an open area without obstacles or signal interference sources.
Initially, be close to the router during installation, ensuring a strong signal during setup while it’s registered to your account and communicates with cloud servers.
The final installation point should also receive a strong network signal for stable performance.
Consider upgrading to a mesh network topology or installing a Wi-Fi extender if network boosting is necessary.
Deactivate VPN, Router Firewall, and Ad Guard
VPNs and ad blockers mask your mobile device’s IP address, potentially preventing communication with other devices on your network.
When using a VPN or ad blocker, your device operates virtually on a different network from your router’s local network, potentially blocking the camera’s hotspot.
Disable VPN and ad blockers when setting up smart devices, and ensure that necessary ports are not unintentionally blocked if your router has an active firewall.
Check the Skybell Temporal Network
Skybell devices broadcast a “blank” hotspot to aid app addition. If this network is not found, it may indicate a faulty device or an issue with your mobile device’s ability to locate the network.
Turn off mobile data and disable VPN on your device, then reboot your devices before troubleshooting further.
If you have a Skybell hotspot under your network list, the doorbell is in pairing mode and ready for connection.
If not available, try resetting the doorbell to enter pairing mode. Factory resetting clears corrupt firmware files that could hinder the connection process.
Bonus Solutions
If you’re still facing connection problems, consider these additional tips;
Begin by uninstalling and reinstalling the Alarm.com app, as using an outdated version may cause connection problems. Clear the app cache, check for updates, and reinstall the app if needed.
Another suggestion is to attempt setting up the device using a different device, preferably one with a different operating system, to address potential compatibility issues.
In the case of a faulty device, where it fails to broadcast its hotspot, your choices are to return it for a replacement or reach out to the support team.


