Moving to a new place or upgrading your network setup necessitates a subsequent update to the connected devices. All Wi-Fi devices must be updated with the new credentials to maintain the connection, including the MyQ cameras and all other smart devices.
Once updated, you can continue to enjoy the device services. Otherwise, you are bound to experience offline errors. Sometimes, the process isn’t as straightforward as it may seem.
How Do I Change My Wi-Fi on MyQ Camera?
To connect a MyQ camera to a new Wi-Fi network, you can bank on the MyQ app guidance that involves clearing the previous network configurations and connecting to the new network. Should you experience connection troubles, you can reset the camera and reconnect afresh.
You can employ these three approaches to connect your home devices to a new network – including the MyQ camera;
- Apply the previous network configurations
- Remove the device from the app, reset, and reconnect
Remember to unpair the Bluetooth connection if you are using the app to reconnect the camera.
Apply Previous Network Configurations
Replicate the wireless configurations of your previous router on the new one. Ensure that the new router shares the same wireless network name (SSID), wireless encryption, and password as the old router.
The goal is to enable the camera or any other device to connect to the new network seamlessly, mimicking the old one.
Keep in mind that MyQ cameras exclusively support 2.4 GHz Wi-Fi. If the new router provides both 2.4 GHz and 5 GHz options, turning off the 5 GHz band during the initial setup is recommended.
While this method offers the advantage of reconnecting devices without requiring a reset, it involves multiple factors. Overlooking even a minor detail can potentially disrupt the setup process.
Remove The Camera and Reconnect
This method guarantees success as it works on most of my smart devices. Resetting the camera clears the previous network configuration and puts the camera in pairing mode – ready for reconnection.
You may or may not remove the camera from the app. If you choose not to delete the camera, unpair the Bluetooth connection to facilitate a reconnection.
Otherwise, when the camera is already paired, you will experience a Wi-Fi connection error.
To unpair a Bluetooth device, access your phone’s settings and tap on Bluetooth. Locate the Camera in the provided list, where Smart Garage Cameras are identified by the initials SGC, and Integrated Cameras begin with GDO. Select the device and forget the Bluetooth connection.
Next, reset the camera to clear the previously known network credentials;
- For the Smart Garage Camera, use a paper clip to press and hold the reset button for 10 seconds. After releasing, observe the LED light, which should turn off and transition to a solid white. Let the camera reset and enter pairing mode with a flashing blue light.
- For the Integrated Camera, while your camera is active, identify the button on the side of the integrated camera. Press and hold this button for 10 seconds. Once released, check for the LED light to go off and illuminate in a steady white.
Reconnecting Via the App
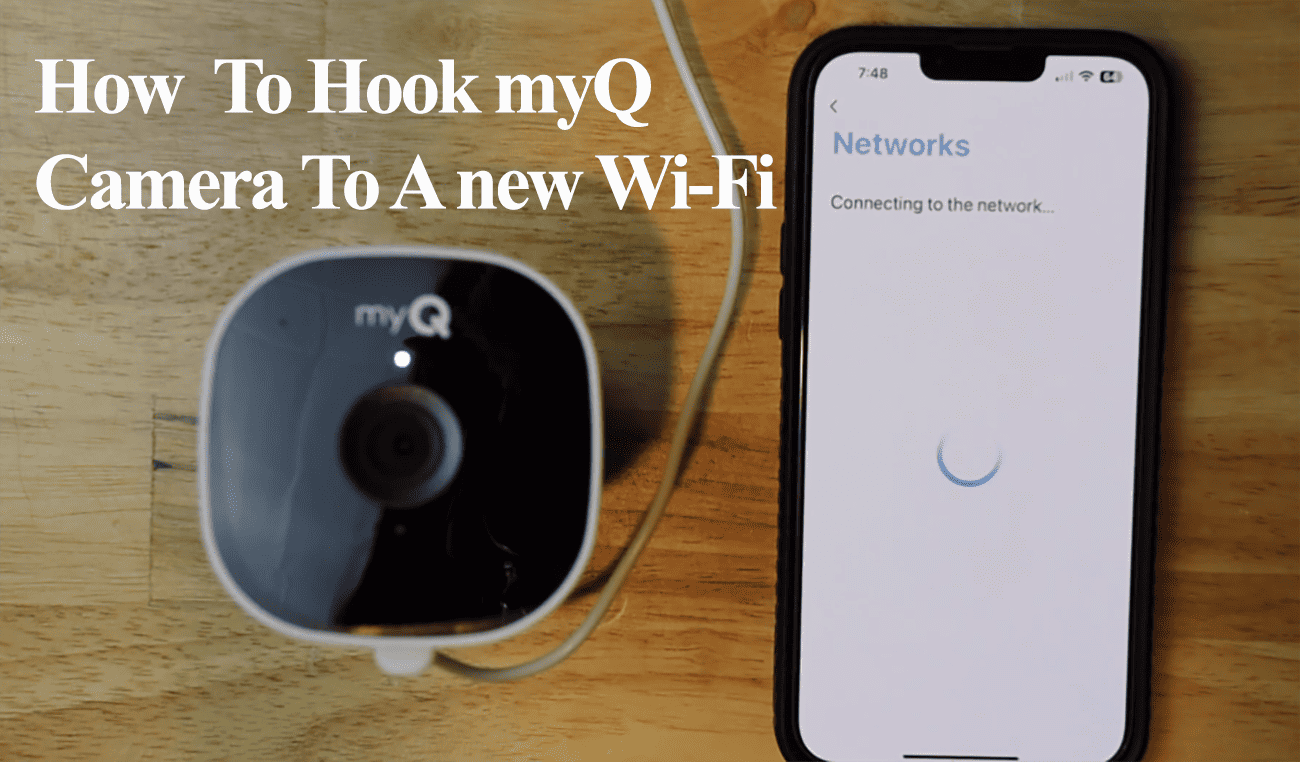
After resetting, reconnect the camera via the MyQ app as a new device and connect to the new network. Here are the simple steps to follow;
- Open the MyQ app on your mobile device
- Tap the “+” icon to add a new device > Video Solutions
- Select the device type, say Smart Garage camera
- Check all the boxes and hit the “I’m Ready” button
- Let the app discover nearby devices – ensure you have Bluetooth enabled.
- Once found, select the camera and accept the pairing request
- Select your network and enter the correct password
- Name the camera and choose a location > Finish
Once done, give the camera a minute to sync up and refresh the app. Select the camera on the home screen and check if you have a live feed. A live view confirms the camera is online and ready to deploy.


