Home security is a top priority for many individuals today, and Kasa cameras have gained significant popularity as reliable and user-friendly options. However, to fully leverage the potential of these cameras, it’s crucial to set them up correctly.
This article is a comprehensive guide to help you seamlessly install and configure your Kasa cameras for optimal performance.
How Do I Setup My Kasa Camera?
Download the Kasa Smart app, register, and verify your user account to set up your Kasa camera. Use the app to add your Kasa camera as a new device, connecting it to your home network.
Before moving forward with the installation process, ensure your network and setup meets these basic requirements.
- Make sure your router broadcasts a 2.4 GHz Wi-Fi network. If your router combines 2.4 and 5 GHz on one SSID, separate them into distinct entities. Alternatively, turn off the 5 GHz option temporarily while setting up.
- Ensure your Wi-Fi security encryption is configured with the WPA/WPA2-PSK protocol.
- Disable VPN and Ad guard on your mobile device.
- Initially, position the camera near the router and move it to the desired installation location after setup.
- Disable your mobile data and ensure your mobile device is connected to the same 2.4 GHz network
Now, download the Kasa Smart app (available for iOS and Android) to your mobile device and create an account. Set up your location, agree to the terms and conditions, and verify your account.
Remember, Tapo and Kasa products are incompatible, though both are from TP-Link. Make sure to use the correct app for each brand.
Once the stage is set and all requirements are met, connecting the camera to your network is straightforward.
Also, turn on your location and Bluetooth. Grant the Location access permission as it’s required to discover devices on your network.Otherwise, you are bound to experience connection problems.
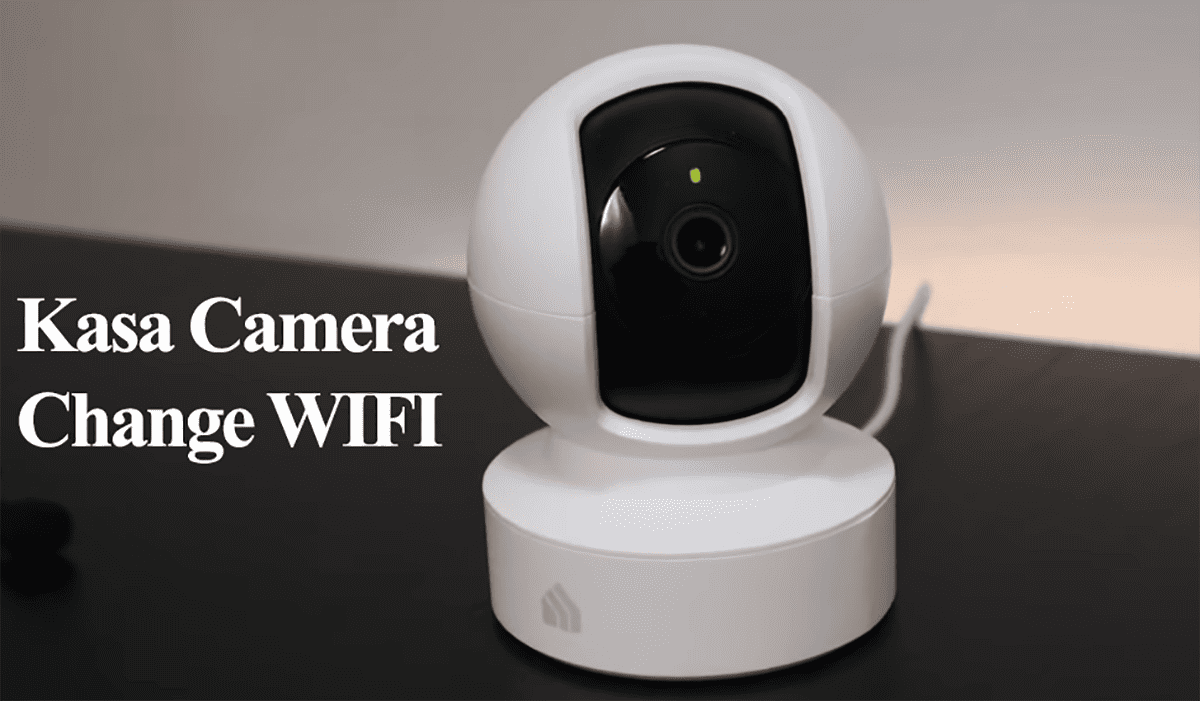
Hooking The Camera to Wi-Fi
Some Kasa cameras require a hub to connect; if you have such a model (KC300, KC310, etc.), ensure the hub is actively connected.
With that said and done, here is how to add the camera to the app;
- Launch the Kasa app on your mobile device
- Tap the “+ icon” > Device
- Select your device category. Tap the “Cameras” option.
- Select your camera model from the options. Use the model number to identify where your camera falls correctly, say Kasa Cam Outdoor (KC200).
- Power the camera and let it enter pairing mode. Connect the camera to a working outlet and let it power up. The camera is in pairing mode once the LED blinks orange and green. Otherwise, reset the camera by holding the reset button for 5 seconds.
- Tap Next on the app to enter the pairing mode confirmation window. Tap “Orange and Green” to confirm or “I Need Help” for a walk down on resetting the camera.
- Connect to the camera hotspot. For Android, the app automatically finds the camera hotspot. For IOS, go to your device network settings, choose the “Kasa_Cam_XXXX” network, and return to the Kasa Smart app.
- Add your home network. Select the 2.4 GHz version of your home network and enter the correct password. Tap the “show” option to make the password input field visible.
- Network connection. The camera establishes a connection, and the app registers the camera to your account.
- Name the camera. Give the camera an appropriate name; I prefer location-based naming –front door, back yard, etc.
- Customize and finish up the setup process. You can Enable activity notifications or decline and complete the installation walkthrough.
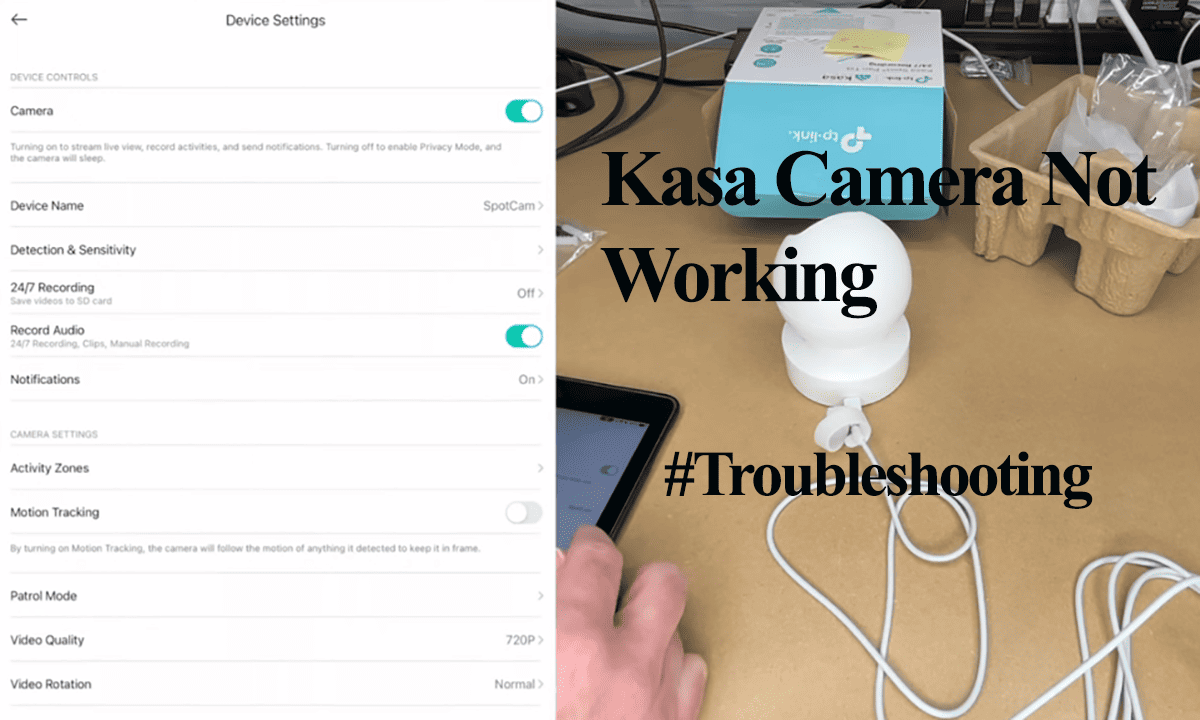
Customize Your Camera
Once the camera is connected, it is time to play around with the different settings to achieve your preferred setup.
Configure the camera settings through the Kasa app > Access the Kasa app and locate your camera in the device list > Customize the camera settings according to your preferences, such as motion detection sensitivity or activity zones.
Ensure the installation point receives a sufficient signal and is free of signal inferences. You can check the RSSI value on the camera settings. A green value symbolizes a good network signal strength.
Verify the camera’s live feed on the Kasa app to ensure a clear and accurate view. If necessary, adjust the camera’s position or angle to optimize the coverage and minimize blind spots.
Final Thoughts
By carefully following the step-by-step instructions, you can ensure a seamless installation process and maximize the performance of your Kasa cameras.
Enjoy convenience and peace of mind with a properly set Kasa camera system.
Kasa cameras are compatible with Alexa and Google Home; integrate Kasa into your virtual assistant to enhance voice control features.
If you subscribe to the Kasa cloud, connect your camera to your subscription for additional features.