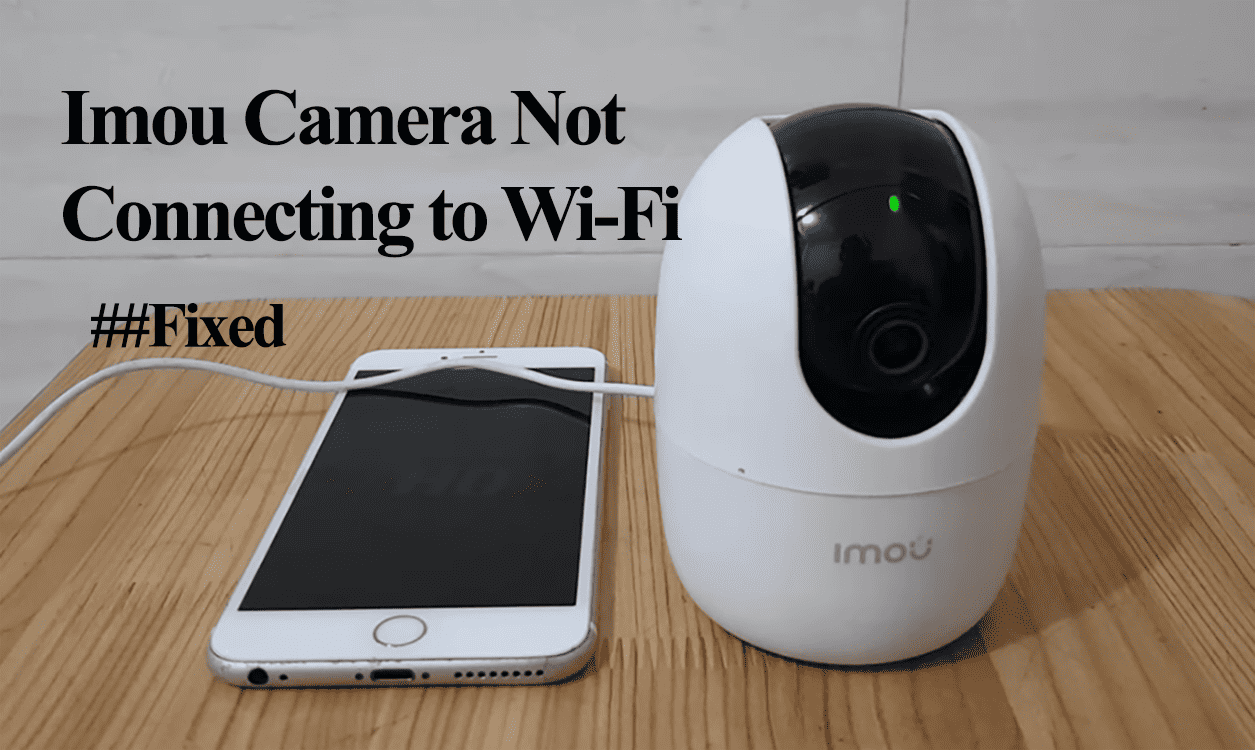
The smart Wi-Fi camera market has lost brands, and Imou is a less popular brand that gets the job done and is pretty affordable. To get the camera to function, it must be connected to your home network via the Imou Life app. However, sometimes the Imou camera won’t connect to your network.
So, why is your Imou Camera not connecting to Wi-Fi?
Your camera won’t connect to Wi-Fi when you use an incompatible Wi-Fi band or run a VPN on your mobile device. When setting up the camera, use a 2.4 GHz Wi-Fi network and turn off your mobile device’s VPN and Ad guard settings.
Apart from the above reasons, there are various reasons with your setup could affect the camera connection process. Here are common ones;
- Imou cameras are designed to work specifically with the 2.4 GHz frequency band and are incompatible with 5 GHz Wi-Fi networks.
- Various network settings, such as MAC address filtering, router firewalls, port blocking, and cellular data, can prevent you from adding the camera to your network.
- If you have a VPN or Ad Guard enabled on your mobile device, it may interfere with the camera’s connection.
- The camera is located outside the range of your Wi-Fi network or if you have a weak network signal.
- Denying the camera app access to your device’s location and Bluetooth.
- Ensure the camera is in pairing mode – flashing green status LED light.
- Issues with the camera’s firmware can also cause connection problems.
When connecting your Imou camera, use a 2.4 GHz Wi-Fi network and switch off VPN and cellular data on your mobile device.
Imou Camera Not Connecting to Wi-Fi – Troubleshooting
Please note that you should keep your mobile device connected to the same network and disable any VPN or ad guard software during setup.
Also, grant all necessary permissions and update the Imou app, which requires location and Bluetooth access to discover devices on your network.
Follow these solutions to connect your Imou camera to your Wi-Fi network;
Check Your Network Settings
Ensure your router is set to broadcast on the 2.4 GHz frequency band, as Imou cameras only support this frequency.
If your router broadcasts 2.4 GHz and 5 GHz frequencies under the same SSID, temporarily disable the 5 GHz option in your router’s admin portal. Once the camera is connected, you can re-enable it.
Alternatively, you can separate the frequencies into distinct SSIDs with different passwords.
Again, verify your Wi-Fi Configuration: Ensure your Wi-Fi network name and password are under 31 characters. Avoid using special characters the app may interpret differently, such as }, $, *, ), or #.
Ensure your Wi-Fi security encryption is set to “WPA/WPA2”, as newer encryption techniques like WPA3 may not be compatible with Imou cameras.
Additionally, set your Wi-Fi channel to one of the recommended options: 1, 6, or 11.
If you change your network, forget the network on your mobile device and power cycle your devices.
Rebooting your network router, camera, and mobile device refreshes the connection and could clear temporal IP errors affecting the camera connection.
Connect Within Network Range
Ensure that your camera is within range of your Wi-Fi network. It’s best to set up the camera closer to the router during the initial setup and then move it to its intended location.
If the signal strength is weak, consider using a mesh network topology or Wi-Fi extenders to evenly distribute the Wi-Fi coverage throughout your home.
Disable VPN, Ad Guard, or Firewalls
VPN and ad guard software can interfere with the camera’s connection by masking your IP address. Turn off these features on your mobile device and restart it to refresh the network connection.
The VPN, Ad guard, and Cellular data will prevent your mobile device from connecting to the camera’s hotspot. Thus, affecting the setup process.
Once your device is rebooted, reconnect to your Wi-Fi network and attempt to reconnect the camera.
Also, ensure that your router’s firewall or port-blocking settings do not prevent adding new devices.
Factory Reset the Camera
You can perform a factory reset on the Imou camera as a last resort. This will wipe all data and configurations, restoring the camera to its default firmware.
Follow these steps to reset the camera;
- Ensure the camera is powered on by connecting it to an outlet or charging its battery.
- Press and hold the Sync button on the camera for 10 to 15 seconds.
- Allow the camera to reset and reboot.
After performing a factory reset, try reconnecting the camera using the Imou app.
Bonus Options
If your camera is still not connecting, here are some additional solutions to try:
Uninstall and reinstall the app: Outdated or corrupted versions can cause connection failures. Start by clearing the app cache and checking for updates in the app store.
If an update is available, download and install it on your device, and then attempt to reconnect the camera.
If the update method fails, uninstall and reinstall the app from scratch.
Try a different device: Sometimes, certain devices may have trouble connecting with specific smart home brands.
If you’re experiencing difficulties with your current device, try setting up the camera using a different phone, preferably one running on a different operating system.
Faulty device: If the logic or internal components of the camera are defective, it may be impossible to establish a connection.
For instance, a faulty camera might fail to broadcast its hotspot. When the camera is in setup mode (flashing green LED light), check that you can see the camera’s hotspot under available networks on your mobile device.
In such cases, your options are limited to getting a replacement or contacting Imou customer support for further assistance and guidance.