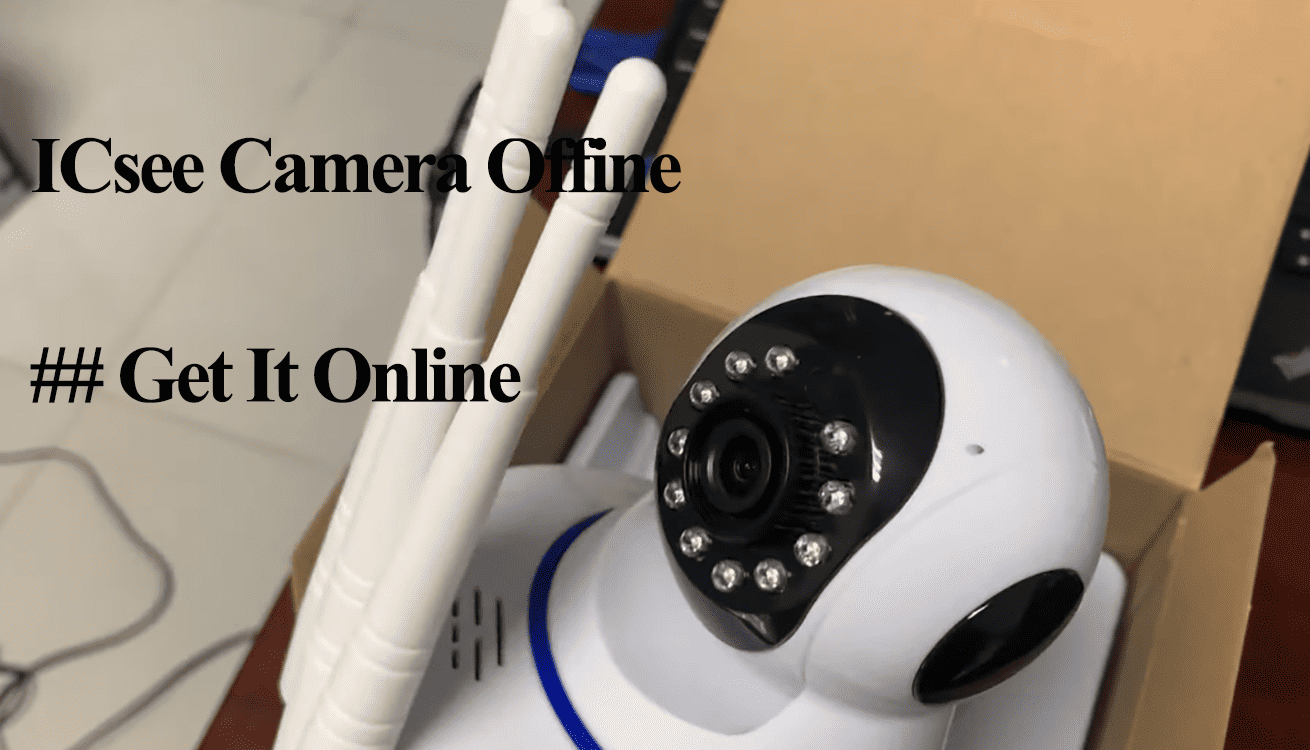
The Icsee camera displays as offline on the app or PC monitor due to a disconnection. This indicates that cloud servers can no longer communicate with the camera. This is most likely due to network or power connection disruption.
Once the camera is offline, it loses functionality, leaving you vulnerable to missing out on security-threatening events. My pal’s package disappeared from his door, only to find his doorbell offline and not capturing anything.
So, why is your camera offline?
Offline errors stem from network disconnection to firmware issues – one or more factors could be the cause. Here are common reasons for the camera offline error;
- Power disconnection – power outage or a tripped outlet
- Poor signal strength on the installation point – Network interferences or disconnection
- Incorrect network settings
- Changing your network credentials
- Firmware glitches or corrupt config files
- Server outages
Once the camera is offline, it is inaccessible from the Icsee app; you must get it back online to access the features and customize your settings.
If you use an ethernet for network connection, confirm your cable works on a different device.
Troubleshooting Icsee Camera Offline
To get the camera online, you must identify and fix the cause of the disconnection – is it a power or network issue?
Sometimes, a simple power cycle could be enough to get the camera back online, while in other cases, you must factory reset the camera and reconnect it.
The first step should be to confirm the camera’s power status – is your battery sufficiently powered? For hardwired models, ensure it’s hooked to a working outlet.
Additionally, confirm you have the latest app and firmware version for your devices. New apps and firmware provide updated features and fix bugs.
Once everything sits right power-wise, try these troubleshooting tips to get it back online;
Examine Your Home Network
Test the efficiency of your Wi-Fi using a different device to confirm internet connectivity. Generally, download and upload speeds over 5 MPS are adequate.
ICsee cameras work with 2.4 GHz Wi-Fi networks, which should have WPA or WPA2 security encryption.
You might encounter problems if your router offers 2.4 and 5 GHz frequencies under the identical SSID. To avert this, establish distinct SSIDs for each frequency or turn off the 5 GHz frequency.
Again, altering your network settings, like the password, SSID, or security protocol, necessitates updating these on your camera to maintain its internet connection.
Switching from the default “auto” network channel to either channels 1, 6, or 11 may enhance connectivity by minimizing interference from neighboring networks.
If your router offers “band steering” or “AP isolation” features, consider turning it off.
To link the camera with a new Wi-Fi network, reset and remove it from its app, and redo the setup.
Restart the Camera and Network Equipment
Power cycling your network and camera devices can resolve temporary glitches and reestablish connections.
Rebooting your router will temporarily disconnect and reconnect all devices, effectively refreshing your network. Similarly, restarting the camera re-establishes its network connection and clears its internal memory.
Restarting devices proves helpful when your device goes offline due to power interruptions or network issues. Often, a simple restart can solve the problem.
To restart your main router and the camera, follow these steps:
- Detach it from the power source.
- Wait a couple of minutes to let any remaining power drain.
- Plug it back into the power source and allow it to complete its startup process.
After rebooting the devices, refresh the Icsee app and check if the camera is online.
Factory Reset the Camera
Factory resetting clears corrupt firmware files and restores the default configurations. This offers a fresh start, allowing you to set up the device anew.
The reset button location depends on your camera model; for PTZ models, open the SD card compartment to locate it.
Press and hold the reset button for 10 – 15 seconds to factory reset the camera. Release it when you get a “Restore factory setting, please wait” voice prompt.
Let the camera reset and enter pairing mode. You can reconnect it to your network and set it up on the app.