To control or access an ADT camera from your mobile device or the online portal, you must have connected it to your home network. Also, the initial setup involves hooking the device to your network and onboarding it to the ADT Pulse app.
So, how do you go about it? Whether changing to a new network or a first-time setup, you must successfully connect your camera.
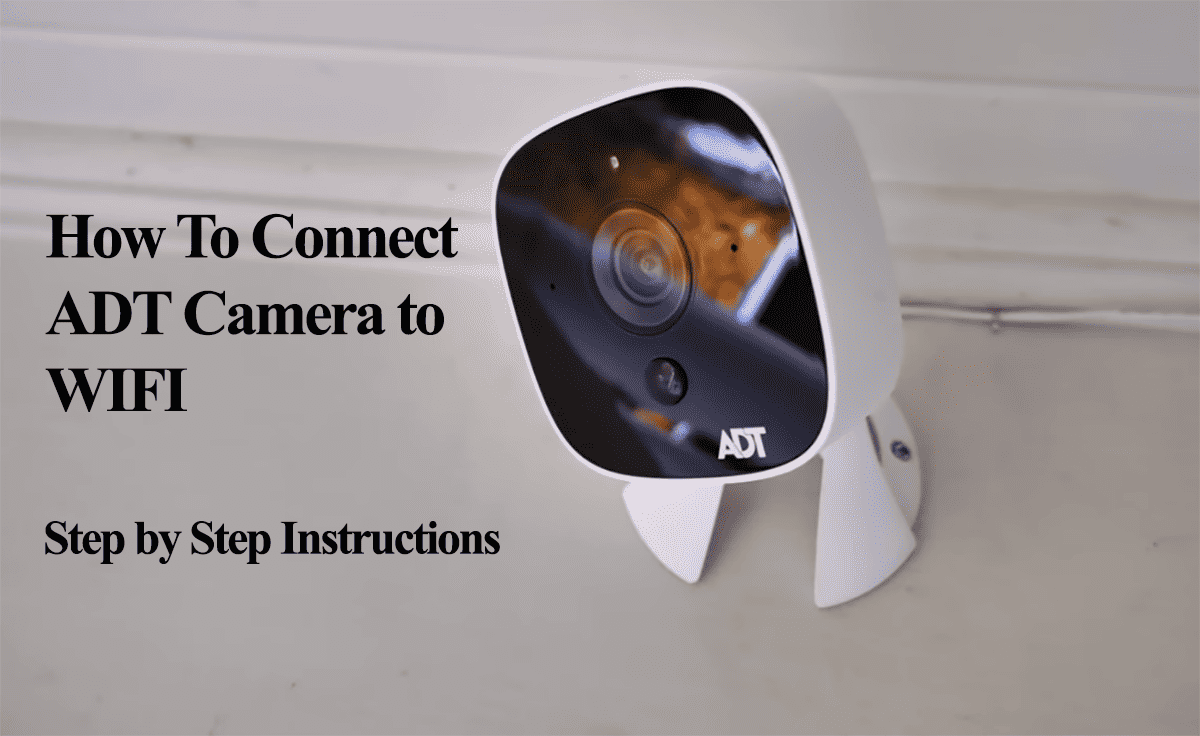
How To Connect ADT Camera to Wi-Fi
Primarily, ADT offers three network connection methods: WPS, Ethernet, and AP connection modes. The proper option depends on your camera model and how you intend to access it.
The ethernet method is the most straightforward, hooking the cable to the ends and powering it on. Remember, the ethernet mode turns off the AP mode – you can only use on mode to onboard the camera.
To get the camera online, choose your preferred mode > hook it to your network > and enroll the camera in the ADT pulse portal.
Before connecting your camera, ensure your network and setup meet the necessary prerequisites;
- Make sure your router broadcasts a 2.4 GHz Wi-Fi network. All Ring cameras and Doorbells are compatible with a 2.4 GHz network. To use a 5 GHz Wi-Fi network, confirm your device compatibility.
- Turn off VPN and Ad Guard on your mobile device.
- Initially, position the camera near the router and move it to the desired installation location after setup.
- Enable Location and Bluetooth on your mobile device to aid with device discovery
- Disable your mobile data and ensure your mobile device is connected to the same 2.4 GHz network
- Ensure your Wi-Fi security encryption is configured with the WPA/WPA2-PSK protocol.
Your router must have a WPS button to use the Wi-Fi Protected Setup (WPS) mode. Power up the camera and press the WPS button (approximately 3 seconds) to enter setup mode > Press the WPS button on your router > Observe the camera’s LED; once it turns solid Green, it has connected.
AP Mode Connection
AP mode lets you connect to the camera’s hotspot before adding your network credentials. Therefore, ensure you meet the mentioned requirements.
You need a mobile device or PC to hook the camera to connect the camera via this method.
- Power the camera by connecting it to a working power outlet and letting it boot up
- Press the reset button for 10 – 15 seconds to enter pairing mode
- Connect to the camera’s hotspot. Look under the available networks on your mobile device or laptop and connect to the “ADC-V723(XX: XX: XX)” network.
- Connect to your Wi-Fi network. Open a web browser on the same mobile device> Type 192.168.1.1 or http://adcinstall and search > Hit Scan to find available networks > Enter your home network and enter the password > Tap Submit to connect.
- Observe the camera LED indicator. A solid green light indicates a successful connection.
Finally, you can onboard the camera on the ADT interactive account to access and customize the settings.
Enrolling The Camera to ADT Interactive
Once the camera is connected to your home network, installing it on the ADT interactive portal or mobile app is the final step.
- Log into your ADT interactive account or launch the mobile app. If you don’t have an account, check your email and create one.
- Select Video from the Menu > Add Camera > Let it load and discover your new device. Alternatively, manually add the camera using the device’s MAC address.
- Name your camera > Hit the Install button. Let the camera install and upgrade if newer firmware is available.
If your camera keeps losing connection, you probably have it in a poor network zone, or your Wi-Fi settings affect the connection.
On the other hand, you can connect to a new network from the device settings. Alternatively, reset and remove it from the ADT platform and reconnect to the new network.