An SD card provides local storage on Ezviz cameras; otherwise, we would be bound to cloud storage, an extra bill at the end of the month. Again, despite the promised encryption, we are all aware of the privacy concerns with cloud storage. Therefore, getting the Ezviz camera recording on local storage is paramount.
So, why is your camera not recording to the SD card?
The recording failure can be primarily attributed to motion detection failure or the camera not recognizing your SD card. For recording to work, the SD card status must be “normal” and the motion trigger in the camera’s field of view.
There are a couple of reasons that could prevent the camera from recording;
- The device is offline or disconnected – power or network disruption.
- Your Ezviz device and app don’t recognize the SD card
- Incorrect device settings – Disarmed, Sleep mode, Alarm notification, etc.
- The installation orientation or card type
- Corrupt SD card
- Outdated device firmware or App version
- Faulty device or corrupt config files
You can enable “all-day” status for continuous recording under the device settings. However, be sure the camera recognizes and records beforehand.
Keep the App and device firmware running on the latest versions for a smooth operation.
Troubleshooting Ezviz Not Recording to SD Card
To get your camera recording, confirm that detection works, and you can receive a notification on your mobile device. Check the storage status and ensure the card status is “normal.” Once you receive an alarm notification, check for an available playback clip.
Check Your Camera Connection and Settings
It goes without saying that the camera must be well-powered and hooked to a solid network. Depending on your model, you could have a Wi-Fi or ethernet connection.
Again, it could be a battery or a wired connection. Remember, your device must be wired for optimal power supply for continuous recording.
Therefore, confirm that your device is online via the Ezviz app before beginning the troubleshooting journey. Otherwise, you are dealing with an offline problem.
Under device settings, check your notification options and enable alarm/ app message notification. Navigate to device settings > Alarm Notification > Enable Message/Alarm notification.
Try to trigger the camera and check for an available clip under events.
Also, remember that Motion detection area and sensitivity affect your device’s operation. If you have some customizations, confirm they do not affect the device’s detection and recording.
Verify The Card Status
Does the app and device recognize the installed card? Are you using a recommended SD card?
Ezviz recommends class 10 or UHS-1-rated SD cards formatted in the FAT32 (for below 64 GB cards) and ExFAT (for greater than 64 GB cards) file system, with devices supporting up to 256 GB capacity cards.
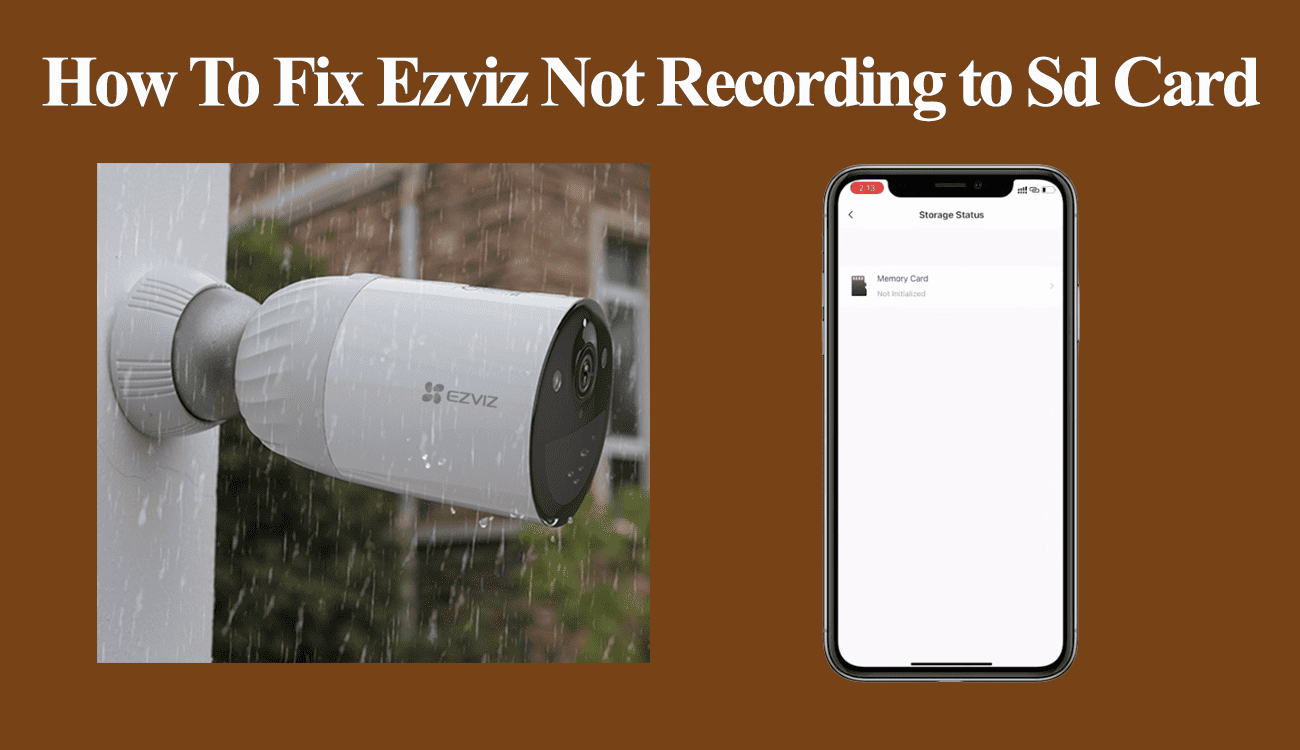
The app indicates a status to show whether or not the device recognizes it. You want to see a “Normal” status under storage. This means the can is initialized and recognized by your camera.
Conversely, if the app shows a “not initialized” status, the local recording won’t work as it doesn’t recognize the card. Confirm the card is installed correctly and retry the initialization process.
To check the card status, open the app > Hit device settings on the device tile > Storage Status > Memory Card. If prompted, hit the format button to initialize the card.
Test The Card or Try a Different One
Confirm that the SD card works and rule out any potential problems with the card itself. These things brick on the fly for no reason. I bet you have encountered the “write protection” error on a thumb drive.
To rule out a corrupt SD card scenario, plug it into a different Ezviz device and check if it works.
Additionally, use a card reader and connect it to your laptop. Check if you can read and write materials on the card.
This should tell you if the problem lies with the card.
If you must format the card, remember that it erases all the data. You should back up any files you deem necessary.
On the other hand, you can use a fresh card on the device and check if the recording works.
Factory Reset the Camera
Resetting the camera eliminates temporary and firmware files that might impact its performance.
To achieve this, start by unlinking the camera from the Ezviz app and removing the SD card.
Afterward, reset the camera by holding the reset button for 10 to 15 seconds.
The camera resets and enters pairing mode. While the device is in setup mode, launch the app and add the camera as a new device > reconfigure the settings.
Reinstall the SD card and check the status via the app. A device reboot and app refresh might be necessary to keep the device going.
With motion alarm notification enabled, try the testing and check if you have available events for playback.
If the problem persists, reach out to Ezviz support. It could be a case of a defective device.
Frequently Asked Questions
How Do I Activate My Memory Card on My Ezviz Camera?
To activate your SD card, install a compatible card on the slot and power cycle the camera. Open the Ezviz app, navigate to device storage, and check the Memory card status.
Hit device settings on the device tile > Storage Status > Memory Card > Check the status “normal or not initiated.” Tap Memory card > hit format to initialize.
How Do I Get My Ezviz Camera to Record All the Time?
To enable continuous recording on your Ezviz camera, allow the “All-Day” feature under the Memory Card settings tab.
For eligible battery-powered devices, switch the Working mode to Power Plugged-in mode. It’s recommended to have it plugged in as continuous recording is power-demanding.