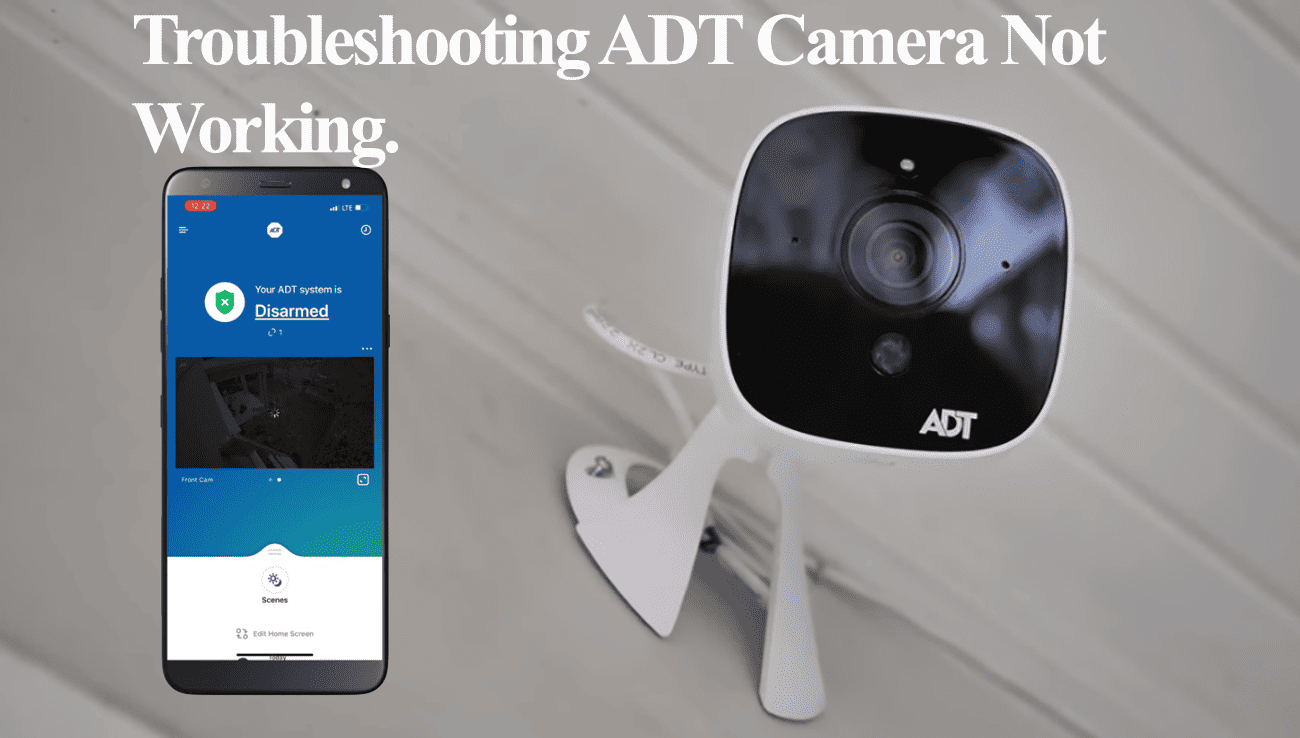
ADT home monitoring packages are a decent option in the market. With the cameras and doorbells, you get motion detection alerts and live footage straight to your mobile device. Well, as long as the camera works.
There may be instances when one or all of your ADT cameras fail to function as intended. This calls for your troubleshooting to identify and fix the root cause of the problem.
I’ll guide you through troubleshooting your ADT camera setup to identify and resolve the problem.
Why Are My ADT Cameras Not Working?
ADT camera malfunctions can occur for various reasons, including power or network disconnections, configuration errors, or hardware problems. The camera must have a solid power and network connection to function.
Here are some common issues that may cause your ADT camera to stop working:
- Power or Network Disconnection – Ensure your camera receives power and is correctly connected to your home network. Power cycling your network and ADT devices can help resolve temporary errors or network connectivity problems.
- Weak Network Signal – Your camera requires a stable network connection to function correctly. Check for a strong Wi-Fi signal in the camera’s location and remove any obstructions or interference.
- Gateway Issues – A lost connection or loosely attached ethernet cable
- Incorrect Camera Settings – Incorrect camera settings in the ADT app can lead to performance issues. Verify and adjust your camera settings, including motion detection, sensitivity, Armed and Disarmed, and activity zones.
- Firmware Problems – Corrupt firmware files can cause camera malfunctions. Ensure that your camera’s firmware is up-to-date.
Before troubleshooting, observing your camera’s status LED can point you in the right direction on where to focus your efforts.
Depending on the model, ADT cameras use different status indicators. Here are the standard colors and their meaning;
- No lights – the camera has no power access
- Blinking red – the camera is booting up
- Solid Red – Not connected or lost network connection
- Blinking Green – Has internet access but not connected to ADT interactive
- Solid Green – The camera has a local network connection and is connected to ADT Interactive
On the other hand, if the ADT team installed Nest camera models, check out Google’s guide on Nest cameras not working.
Troubleshooting ADT Camera Not Working
To get your camera back online and working, you must identify the source of the problem and fix it.
Pinpointing the exact cause would be chasing a wild goose, but we can arrive at a guided solution by following an elimination method on the potential causes.
If the camera is displayed as offline on the app, there is a high chance you are dealing with a network or power connection problem.
On the other hand, if you can live stream from the app, the camera has a network connection. There could be an issue with your settings preventing it from working as desired.
With that said, try these simple solutions to get your camera working;
Verify Your Network Connection
In addition to having a stable network connection, specific network settings, particularly within mesh networks, can impact the operational efficiency of connected devices.
Some router configurations influence the way your network interacts with connected devices.
For instance, in mesh networks, band steering automatically shifts and transfers devices to the most robust mesh node.
An issue may arise when the camera or Gateway is moved to a node farthest away. As a result, it’s advisable to turn off band steering or any intelligent switching on your network.
Furthermore, if your network supports it, be aware that AP Isolation could also contribute to the issue of devices going offline.
When AP isolation is active, it restricts direct communication among devices connected to the same wireless network, allowing them to communicate solely with the central access point (AP) or router.
If your camera repeatedly experiences offline issues, it is likely due to a weak signal, interference, or your network’s automatic switching behavior.
Reboot Your Devices
Power cycling refreshes the devices’ connection and eliminates temporary network issues or IP conflicts that can lead to functionality problems.
Typically, performing a power cycle involves disconnecting a device’s power supply for a few minutes and then reconnecting it.
Unplug your network router from the outlet for 30 seconds and then plug it back in.
Once your router has finished rebooting, repeat the same process with your Gateway. Be aware that the Gateway may take up to 5 minutes to reboot and reconnect to your network.
Lastly, power cycle your ADT camera and monitor the LED indicator for connection status. If the LED turns solid GREEN, the camera is now connected to the network and should be accessible through the app or portal.
Power cycling is handy when dealing with connection interruptions caused by extended outages or disconnections.
Firmware Upgrades
Ensure you run on the latest firmware and app versions to get the best from your ADT cameras.
Firmware updates address known performance bugs or add new features to your cameras. Therefore, be sure to upgrade your devices on the roll.
Check your camera firmware version via the app or control panel and upgrade if necessary.
Camera Settings
ADT allows you to customize your camera experience via a set of rules.
With rules and modes, you can customize your camera to suit your needs – motion detection, recording, sensitivity level, etc. So, what do your rules look like?
For instance, setting your camera on a schedule (work during a specified period) could give a false positive of the camera not working problem.
Again, check your system mode. Is the camera on a disarmed system? If so, arm your camera and define the rules.
Dive into your camera settings and ensure everything checks out and meets your needs.
Recording or motion detection failure is likely due to an incorrectly set rule or you forgot the detection toggle.
Reset The Camera
Removing the camera from ADT interactive erases all your customizations and settings. You must reconnect to reuse.
Additionally, you can reset the camera to restore it to its default configurations, eliminating any corrupt or incomplete firmware files.
Here’s a guide on how to remove the camera from the app:
- Launch the ADT Pulse App.
- Navigate to the Menu and select the Manage Devices section. You will see your complete list of ADT Pulse devices. Locate and choose your ADT Pulse Camera.
- Scroll down and click on the “Remove” button. Confirm the action by tapping “Remove.”
For resetting a wired ADT camera, press and hold the square button at the back for 15 seconds.
In the case of wireless ADT cameras, hold the small button next to the power port at the rear for 10 seconds to initiate a reset.
Once the camera is reset, you can reconnect it to your network, add it to the ADT interactive platform, and verify that it works.
Wrapping It Up
ADT cameras are essential tools for enhancing security and peace of mind.
Most issues related to ADT camera functionality can be traced back to power or network connection problems.
A solid green LED status light on your camera indicates a successful connection.
With the proper troubleshooting steps, you can ensure your ADT cameras work correctly and customize them to meet your needs.
In case of a faulty unit – that doesn’t boot, connect to your network, or shows a clear sign of deficiency, you can contact the ADT support team for a replacement.


