Changing the Wi-Fi network on a Kasa camera is a straightforward process that allows you to ensure a seamless and uninterrupted connection.
Whether moving to a new location or upgrading your internet service, it’s essential to update the Wi-Fi network settings on your Kasa camera to maintain its functionality.
In this article, I will guide you through the steps required to change the Wi-Fi network on your Kasa camera, ensuring a hassle-free transition.
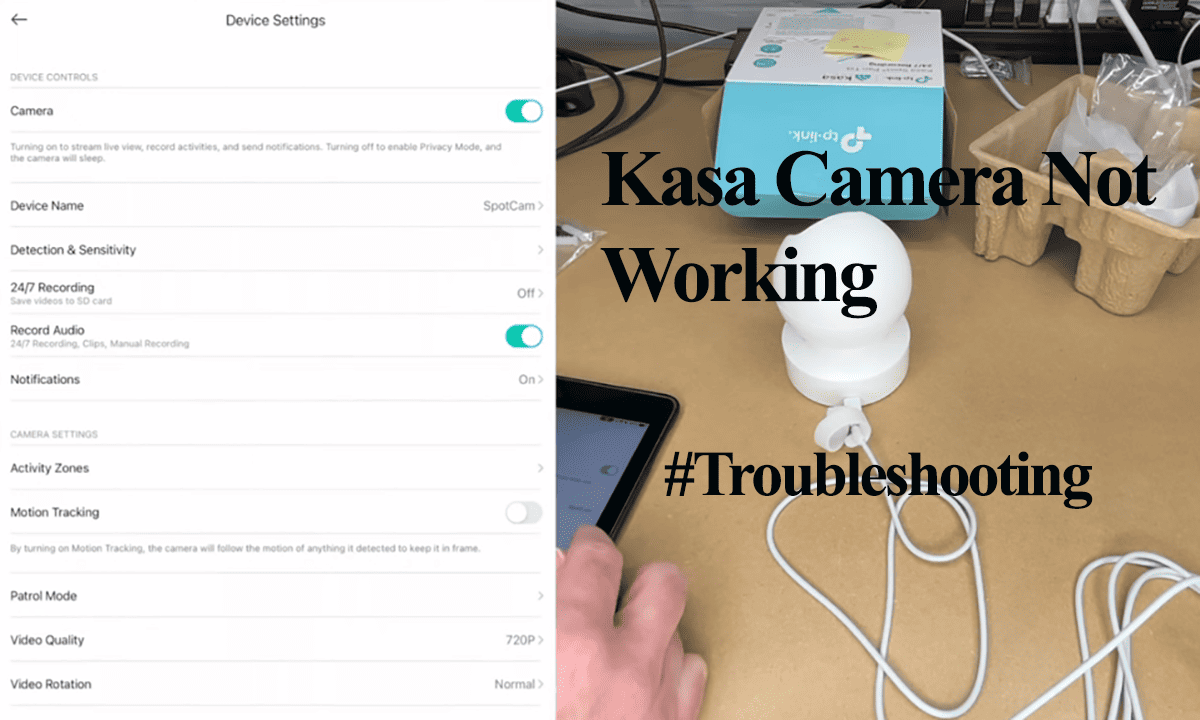
How Do I Change the Wi-Fi on My Kasa Camera?
Unlike other apps like Blink or Ring, the Kasa app doesn’t have a provision to change the Wi-Fi network. To connect your Kasa camera to a new Wi-Fi network, reset it to clear the previously registered credentials and set it up afresh on the new network.
Alternatively, you can configure an identical network on your new router, similar to the previous one. This method allows seamless integration of your devices into the new network. However, it’s prone to errors.
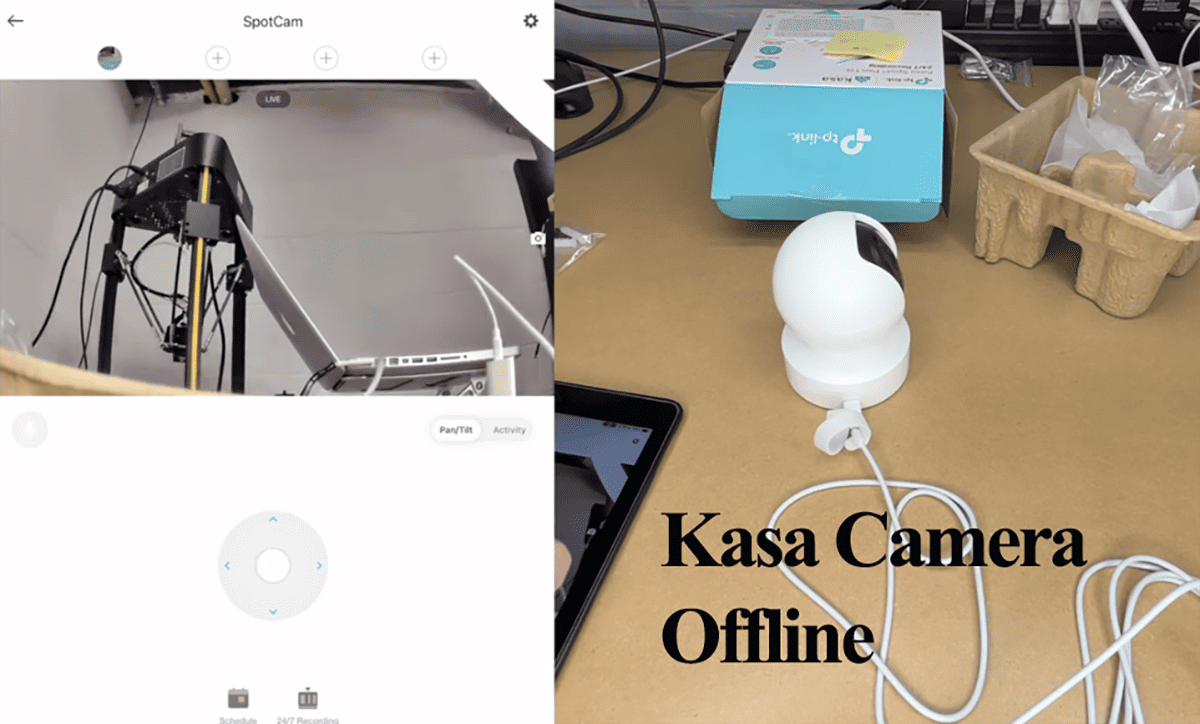
Changing your network credentials renders your smart devices offline. You must reconnect them to continue enjoying their services.
That said, you can employ these two methods to connect your Kasa camera to a new network;
- Configure an identical network on the new router
- Reset the camera and add it to the Kasa app
Use Identical Network Credentials
To accomplish this, you need to replicate the wireless settings of your previous router on the new one.
Ensure the new router has the same wireless network name (SSID), wireless encryption, and password as the old one. The objective is for the Kasa camera or any other device to connect to the new network as if it were the old network.
Take note that Kasa cameras are only compatible with 2.4 GHz Wi-Fi. If your new router supports 2.4 GHz and 5 GHz options, turn off the 5 GHz band during setup.
Alternatively, you can separate the bands into distinct networks, each with an SSID and password.
Once you have configured the new network, attempt to connect your mobile device. Select the new Wi-Fi network and enter the password, which should be the same as the previous one.
Ideally, your mobile device should automatically connect to the new network.
Once your mobile device is connected, power on the Kasa camera and reconnect it within the app if it doesn’t connect automatically.
If everything goes smoothly with the new setup, this method allows for a seamless reconnection of your devices without requiring a reset.
However, be mindful of various factors, as it can be easy to overlook a small detail, which may disrupt the setup process.
Reset The Camera and Reconnect
Resetting your Kasa camera clears the previous configurations, puts it in pairing mode, and allows you to add your camera to the new network. Your camera won’t work after resetting.
- To reset a Kasa security camera 1, press and hold the reset button on the camera’s side for 5 seconds. The camera will blink red to initiate the reset and reboot process.
- For Kasa pan & tilt models, tilt up the camera lens to access the reset pinhole, then press it for 5 seconds. Once the camera reboots, you can add it back to the Kasa app.
- The reset button on Kasa wired outdoor camera 1 is hidden behind the back cover. Remove the back panel to access it. Once there, press the button for at least 5 seconds.
This clears the previous Wi-Fi credentials, paving the way for the new setup. The camera reboots and enters pairing mode with a blinking amber and green LED light.
- Now open the Kasa app > Add device
- Select the “Choose from Pre-configured devices” option
- Select the camera and tap the “Do not reset” button. If you are only changing the camera network, don’t fully reset the device.
- Follow through with the final process to connect to the new network
If this process doesn’t work, fully reset the camera and add it as a new device.