Kasa by TP-Link offers a range of reliable, high-quality smart cameras designed to enhance home security. These cameras provide features such as motion detection alerts and remote control, allowing you to receive alerts and video clips whenever motion is detected.
However, like any smart device, you may encounter functional issues with your Kasa camera.
If you’re facing problems and your Kasa camera is not working, this troubleshooting guide will help you identify and resolve the issues.
Why Is My Kasa Camera Not Working?
Your Kasa camera may not work due to a lost Wi-Fi connection, power issues, outdated firmware, incorrect camera settings, or server outages. To quickly resolve the issue, power cycle the camera and network devices, check the Wi-Fi connection, update the app and firmware, and ensure the correct camera settings.
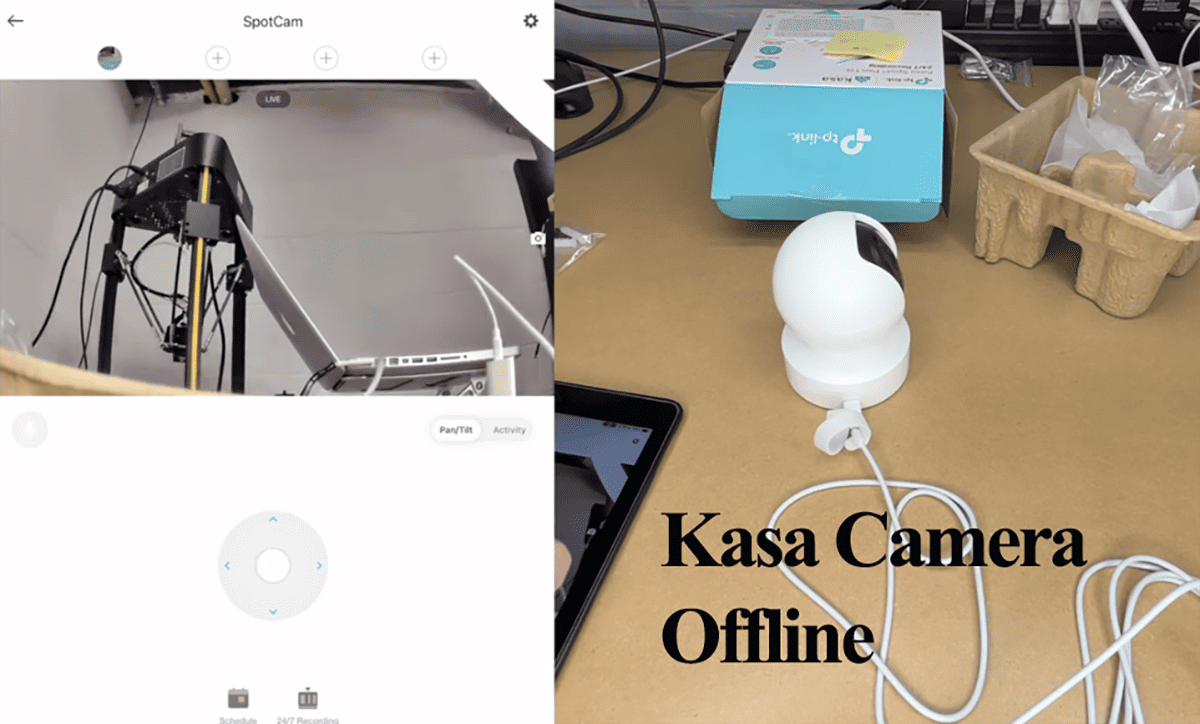
Kasa cameras require an active network connection for full functionality, including sending motion alerts and remote access. You can access the camera without the internet when connected to the same local network.
There are several reasons why your Kasa camera may not function correctly. These include:
- Loss of Wi-Fi Connection: If your camera is disconnected from the Wi-Fi network, it won’t work.
- Power Issues: Ensure the camera is connected to a reliable power source. For battery-powered models, check if the battery is depleted and needs to be replaced.
- Outdated Firmware: Outdated firmware can lead to functional issues.
- Incorrect Camera Settings: Incorrect camera settings, such as disabled motion detection, can affect the performance of your Kasa camera.
- Corrupt Configuration Files
- App Software Bugs: Software bugs within the Kasa app can cause problems with your camera’s functionality.
- Camera Location and Positioning: Ensure the camera is well-positioned and has a clear view of the intended area to optimize its functionality.
- Server Outages: Occasionally, server outages may occur, temporarily disrupting the connection between your camera and the cloud servers.
- Faulty Camera: In some cases, the camera itself may be faulty
Troubleshooting Kasa Camera Not Working
The Kasa camera utilizes an LED indicator to convey its connection status. Paying attention to this LED can guide you in troubleshooting effectively.
The LED lights on Kasa cameras can signify various states:
- Flashing green indicates a Wi-Fi connection
- Solid green means it’s linked to the cloud
- Solid red implies network connection problems
- Blinking orange and green signifies pairing mode
- No lights may indicate power supply issues or a disabled LED setting in the app.
So, take a moment to observe the color of the LED on your camera to gather helpful information for further troubleshooting.
Power cycle your camera and network devices
Power cycling revitalizes the device’s connection, eliminating any temporary bugs hindering your camera’s functionality.
Similarly, rebooting your router restarts the network, resolving conflicting IP address allocation issues and potential slowdowns caused by congestion.
To power cycle, disconnect the device from the power outlet, let it sit and discharge for approximately a minute, and then reconnect it.
Allow the router to initialize and verify that your home Wi-Fi functions on your mobile device.
Next, power cycle the Kasa camera. Once the camera is connected (indicated by a solid green LED light), check its response from the app.
Remember to refresh the app by force closing and reopening it, or close all active apps and restart your mobile device.
Check Your Network Connection
Ensure that your Wi-Fi network is active and functioning correctly.
If there is a network disconnection or the signal is weak, contact your internet service provider (ISP) to address the issue.
Within the Kasa app, under device settings, you can also check the signal strength (RSSI value) the camera receives to identify weak signals quickly.
TP-Link recommends a Received Signal Strength Identify (RSSI) value of between -70 dBm to -40 dBm. Anything less than -70 won’t support the whole Kasa camera operation.
Keep in mind the basic Kasa network requirements;
- Use a 2.4 GHz Wi-Fi frequency band. If your router broadcasts both 2.4 and 5 GHz bands on a single SSID, turn off the 5 GHz option.
- Disable band steering in mesh network topologies
- Check your network settings like router firewalls, MAC address filtering, port blocking, etc.
- Use the less congested 1, 6, or 11 network channels
- Set your security encryption to WPA or WPA2. Some Kasa cameras won’t process newer protocols like WPA3.
Power cycling the router and the device works magic when dealing with drop-in network and offline issues. In case of connection issues, follow this Kasa camera won’t connect guide.
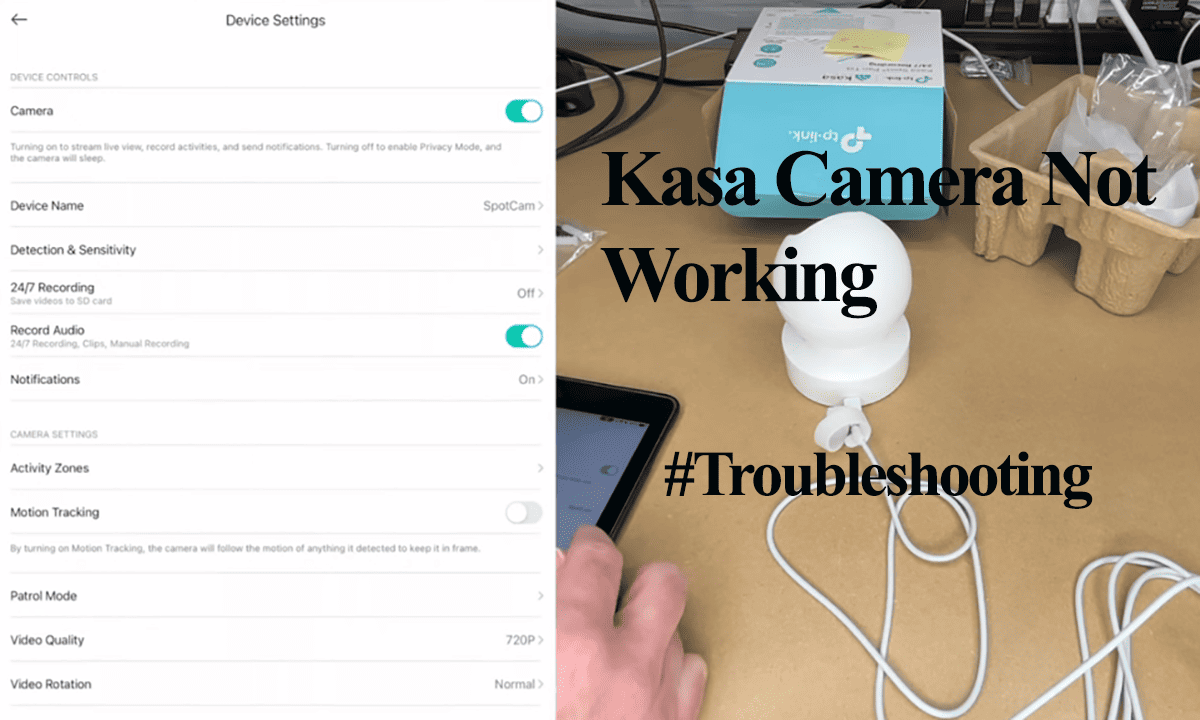
Check Your Camera Settings
Ensure that motion detection is enabled in the camera settings of the Kasa app, and adjust the motion sensitivity bar according to your preferences.
To enable motion detection, open the Kasa app > select the camera > tap the settings icon > click “Detection and Alerts” > enable the “Motion Detection” toggle.
Also, pay attention to any blacked-out activity zones affecting camera performance.
Therefore, select the camera and thoroughly examine the settings; any setting that doesn’t sit right could be why your camera isn’t working.
Update Your App and Firmware
If you’re using an outdated app or device firmware, your device might encounter functional issues. App updates are designed to address software bugs and resolve operational issues at a production level.
Therefore, it’s recommended to periodically check for updates for your Kasa smart device’s app and firmware.
Visit your respective app store to look for any available Kasa app updates and install them if necessary.
To upgrade your Kasa camera’s firmware, navigate to the Live View page, tap the settings gear, select the Camera model, choose the Firmware Version, and check for updates or proceed with the firmware update.
Alternatively, you can check Kasa device firmware updates from the “Me” page. Tap the Firmware Update option to check for any updates for your connected devices.
Reset The Camera and Reconnect
Resetting the camera restores the default settings and deletes all your settings and data.
Factory resetting is usually handy when dealing with corrupt firmware files or incomplete upgrades. Once the camera resets, you must set it up afresh on the Kasa app to reuse.
Before resetting, remove the camera from the Kasa app. This unbinds it from your Kasa account.
Follow these instructions to perform a factory reset;
- Locate the factory reset button on your Kasa camera. It is usually a tiny, recessed button requiring a paperclip to press.
- Press and hold the reset button for about 10 seconds until the camera’s LED light flashes
- After the factory reset, you must set up your Kasa camera again from scratch, including connecting it to Wi-Fi.
Once the Kasa camera resets and enters pairing – with an orange and green status LED, confirm that you can see the camera hotspot under your mobile device’s Wi-Fi networks.
Reconnect the camera to your Wi-Fi network via the Kasa app and upgrade to the latest firmware. Test your camera functionality and check if it works.
Conclusion
Dealing with a Kasa camera that is not working can be frustrating, but following the troubleshooting steps outlined in this guide can resolve many common issues.
Pay attention to the LED status lights on the camera, keep your firmware and app updated, and ensure the correct camera settings.
If all else fails, reach out to Kasa support for further assistance.
With proper troubleshooting, you can get your Kasa camera connected and running smoothly again.